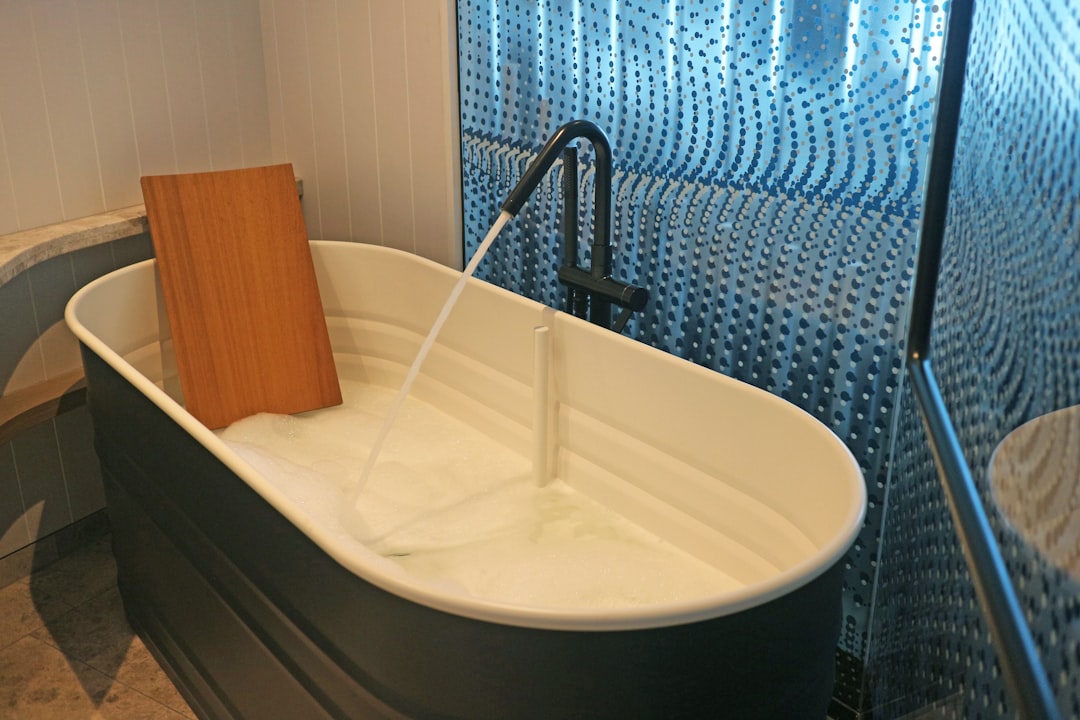
Homeowners may see a tub spout as a small fixture, yet every residential builder knows it is a critical water-control point. A misaligned spout can invite leaks behind the wall, ruin tile, and trigger callbacks that erode margins. At CountBricks, our AI estimate generation platform flags this step as a line-item because accuracy here protects the entire waterproofing assembly. Understanding how to install a tub spout correctly keeps schedules tight and clients happy.
CountBricks.com/services supplies an auto-generated tool list when you voice-dictate “install tub spout” into the app. Expect these basics:
• Pipe wrench or adjustable pliers
• Fine-tooth hacksaw (only if trimming pipe nipple)
• Teflon™ tape or approved thread sealant
• Silicone sealant rated for wet areas
• New tub spout (slip-on or threaded style)
• Clean rag for final wipe-down
1. Shut off water at the fixture stops or main valve.
2. Twist the existing spout counterclockwise. If it spins freely, you have a threaded model. If it stops after half a turn, look for a set screw underneath—this signals a slip-on style.
3. Measure the pipe stub-out. Threaded spouts need 4–5 in. of exposed ½-in. male pipe thread, while slip-on spouts grip ½-in. copper tube extending 1–2 in. from the wall.
1. Confirm the wall opening is dry and free of debris.
2. Wrap Teflon tape clockwise around the pipe threads three times, leaving the first thread free so the spout seats fully.
3. Hand-tighten the spout until snug, ensuring the diverter lever points straight up.
4. Protect finish with a rag and give a final quarter-turn using pliers if necessary. Do not over-torque—hairline cracks void manufacturer warranties.
5. Seal the joint between spout and wall with a thin bead of silicone. This prevents water from tracking behind tile backer boards.
1. Clean the copper stub-out thoroughly. Any solder beads will gouge the O-ring inside the spout.
2. Slide the spout over the pipe until flush with the wall.
3. Tighten the set screw with a hex key. CountBricks field data shows 25–30 in-lbs is typical—enough to grip without distorting pipe.
4. Apply silicone around the perimeter where the spout meets the finished wall.
• Always dry-fit before sealing so you can verify alignment with the shower diverter.
• If the threaded nipple is too long, replace it instead of stacking washers. Proper parts cost less than future callbacks.
• Keep spare O-rings in your truck. A damaged slip-on seal is the top cause of post-install drips.
• Use clear, mold-resistant silicone to maintain the aesthetic of high-end tile packages.
• Log every material SKU in the CountBricks mobile app; it syncs to your estimate, procurement list, and final invoice automatically.
Water leaking behind the spout
• Remove the spout, inspect threads or O-ring, re-tape or replace gasket, and reseal.
Spout not diverting water to shower
• The valve cartridge may be clogged, not the spout. Confirm flow at the rough-in before swapping parts.
Spout installed off-plumb
• For threaded styles, back the nipple out slightly and recut to correct length. For slip-on, loosen the set screw, realign, and retighten.
If you discover galvanized pipe, corroded threads, or an uneven wall surface that prevents a flush fit, schedule a CountBricks certified plumber through CountBricks.com/consultation. Our vetted trade partners arrive with digital blueprints and AI-generated task lists, ensuring rapid turnaround and transparent pricing.
Voice-activate the CountBricks platform from any smartphone:
• Say, “Add tub spout replacement to unit 203.”
• The AI cross-references your blueprint, calculates pipe length tolerances, and auto-generates the labor, material, and contingency line items.
• Field crews receive a step-by-step checklist—exactly what you just read—synced to inspections and punch-out schedules.
You spend less time counting parts and more time handing over flawless bathrooms.
Run hot and cold simultaneously for one minute while diverting to the shower. Verify zero leaks at the wall, a solid diverter seal, and full flow at the showerhead. Demonstrate operation to the homeowner to close out the punch list. CountBricks automatically logs this sign-off to the project record, protecting you against future disputes.
From single-family remodels to multi-unit developments, CountBricks removes guesswork by integrating real-time material pricing with on-site voice capture. Visit CountBricks.com/services to see how effortless residential construction can be.

A Houston townhouse developer recently challenged CountBricks to cut installation time on a 24-unit build where tight schedules threatened closing dates. By leveraging our voice-driven estimating engine, the superintendent logged “install tub spout” once per bathroom. The platform instantly:
• Calculated total pipe nipples, O-rings, and silicone tubes based on blueprint takeoffs
• Ordered materials from preferred suppliers at live pricing, locking in costs before market fluctuations
• Generated crew-specific task sheets with QR codes that opened the step-by-step guide on smartphones
1. Labor hours dropped 18 percent versus the previous phase.
2. Zero leaks were reported during pressure testing, eliminating rework.
3. Field managers spent 90 minutes less on paperwork, thanks to automated invoicing.
• Standardize small yet critical tasks like tub spout installs—repeatability saves thousands over a subdivision build.
• Feed CountBricks voice notes into the project early; the AI’s material aggregation reduces waste by up to 12 percent.
• Use the digital QC checklist to capture homeowner sign-offs instantly, locking in satisfaction scores and freeing crews for the next job.
If you are juggling tight deadlines and demanding homeowners, it’s time to put CountBricks.com to work. Schedule a demo at CountBricks.com/consultation and see how our AI takes tub spouts—and every other fixture—off your worry list.