

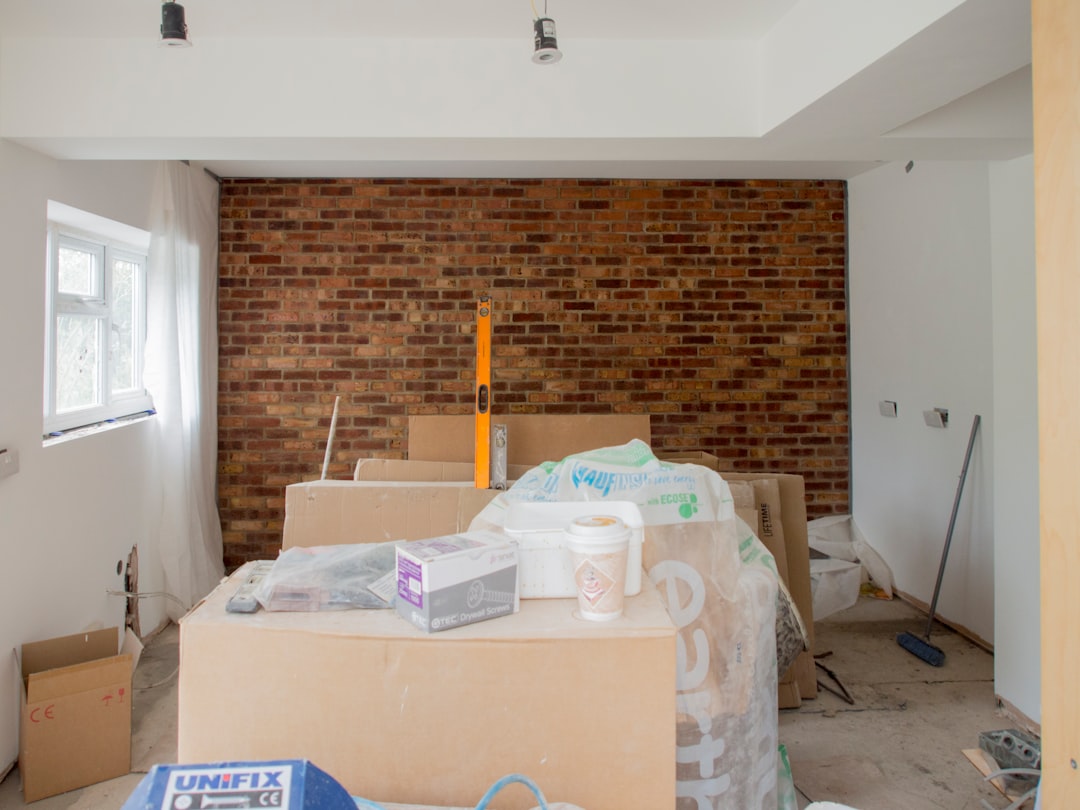
Removing old tile is a crucial step in many residential remodels, and understanding the costs involved is essential for construction professionals. In 2026, the cost to remove tile can range from $2 to $5 per square foot, depending on various factors. Accurate estimates ensure your projects stay on budget.
1. Tile Type and Thickness
• Standard ceramic tiles are generally easier to remove than dense porcelain or natural stone.
• Larger, thicker tiles require more effort and increase disposal weight.
2. Installation Method
• Mortar-set tiles on concrete backer board are quicker to remove than thin-set on a slab.
• Older mud-bed installations can significantly increase labor time.
3. Square Footage and Layout
• Open areas allow for efficient work, while tight spaces like bathrooms slow progress.
• Larger areas benefit from economies of scale, reducing cost per square foot.
4. Subfloor Condition
• Hidden damage or a cracked slab can add time and cost for repairs.
• Mobile scanning can identify weak spots early.
5. Waste Handling
• Disposal fees in Denver average 5-7 cents per pound, with higher costs for hazardous materials.
• Calculating dump weight based on tile density ensures accurate bids.
Labor typically accounts for 60-70% of the total cost in tile removal projects. Remaining expenses cover debris bags, safety gear, and landfill fees. Keeping labor rates updated reflects current market conditions.
• Small powder room (30 sq ft) ceramic removal: $320–$1,120
• Mid-size kitchen (150 sq ft) porcelain removal: $2.75–$9.00
• Whole-house flooring (900 sq ft) mixed materials: $6,000–$12,000
These figures include labor, protection, and haul-off. Costs may vary by up to 12% in mountain areas or distant landfills.
Step-by-Step Digital Workflow
1. Speak your scope – Capture job details in real time.
2. Instant takeoff – Convert blueprints or photos to surface areas.
3. Dynamic cost engine – Generate detailed estimates using live material catalogs and labor data.
4. Client-ready documents – Export proposals, timelines, and contracts with one click.
• Prevent change orders that erode margins.
• Build trust with transparent pricing.
• Secure material deposits faster with clear cost breakdowns.
• Include subfloor repair allowances in your estimates.
• Schedule demolition early in the week to avoid landfill delays.
• Ensure quotes include dust barriers and air scrubbers.
• Consider reusing intact stone pieces to offset disposal costs.
• Built-in OSHA checklists ensure safety compliance.
• Automatic silica dust compliance reminders.
• Secure digital logs with photo evidence for client transparency.
How long does tile removal take?
A typical 100 sq ft kitchen floor can be removed in one workday, with additional time for clean-up.
Can I stay in my home during removal?
Yes, but sealing adjacent rooms and using air machines is recommended.
Is DIY removal worth it?
Professional crews are often faster and more cost-effective than DIY efforts.
Upload your project details to CountBricks.com for an AI-verified estimate.
The Miller family chose a precise estimate for their tile removal project. Using AI, the floor plan and material density were accurately assessed, capturing all necessary details for a seamless process.
Results at a Glance
• Initial AI estimate: $4,992, generated in under five minutes
• Final invoiced amount: $5,052—variance less than 1.3%
• Project duration: Two days of removal, one day surface prep
• Waste diverted: 18% of travertine repurposed
1. Early Detection Saves Money – Thermal imaging prevented costly repairs.
2. Smart Sequencing – Efficient scheduling reduced downtime.
3. Data-Driven Trust – Real-time progress tracking ensured client satisfaction.
• Provide complete room measurements for accurate AI analysis.
• Include a disposal weight buffer for dust and debris.
• Invest in pre-demo thermal scans if radiant heat is present.
Start your next project at CountBricks.com.
