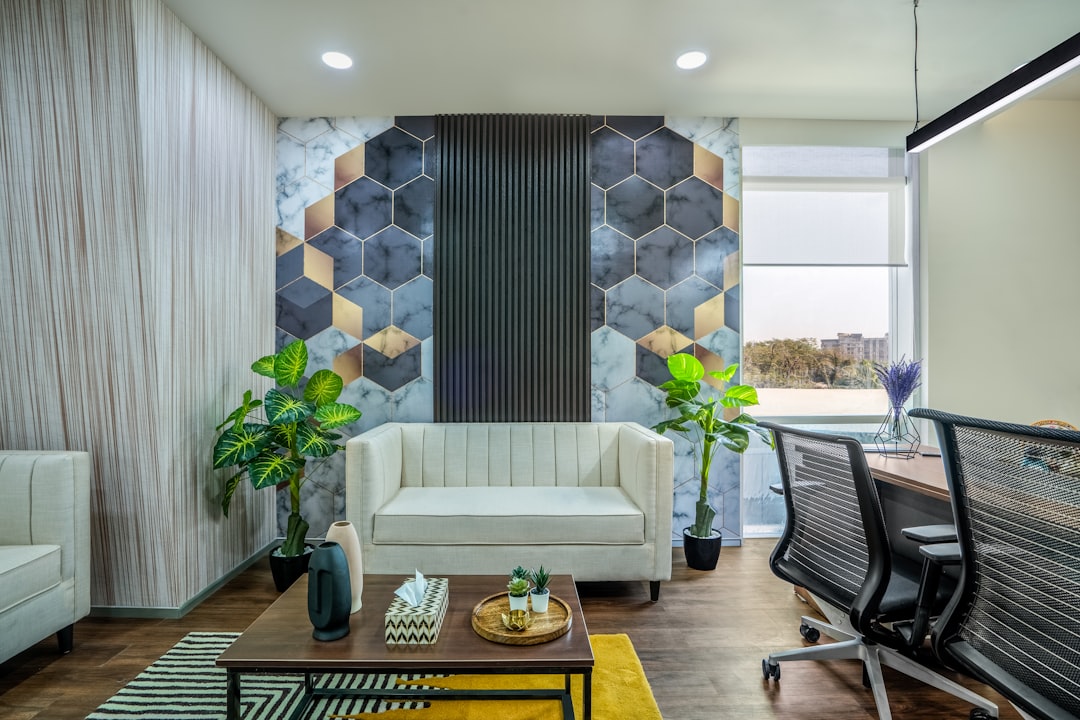
CountBricks Floor Heater San Diego Experts for Cozy Homes
Construction Costs San Diego
Price source: Costs shown are derived from our proprietary U.S. construction cost database (updated continuously from contractor/bid/pricing inputs and normalization rules).
Eva Steinmetzer-Shaw
Head of Marketing
Stay Warm, Stay Efficient: Floor Heaters for San Diego Homes
San Diego's mild climate can still bring chilly mornings, making floor heaters an attractive option for adding warmth without increasing whole-house heating costs. Professional installation of floor heaters can range from $1,500 to $30,000 depending on the system and size. This guide provides insights into selecting and installing floor heaters, focusing on professional needs and efficiency.
Why Floor Heaters Are Trending in San Diego Homes
- Even, draft-free comfort suitable for open floor plans
- Lower operating temperatures reduce utility bills
- Hidden components enhance interior aesthetics
- Compatibility with solar arrays and smart thermostats
Choosing the Right Floor Heater System
Hydronic vs. Electric: What Fits Your Lifestyle?
- Electric mats or cables – Ideal for retrofits or single-room remodels, integrating with standard circuits.
- Hydronic tubing – Best for whole-home projects, offering energy savings with consistent heat.
Key Performance Factors
- Floor covering thickness and R-value
- Subfloor condition and height restrictions
- Available amperage or mechanical room space
- Desired response time—electric warms faster; hydronic excels at long, steady runs
The CountBricks Approach: Technology Meets Craftsmanship
CountBricks combines technology with craftsmanship, using AI to provide real-time estimates and efficient project management. Our platform ensures accurate pricing and streamlined processes.
From Voice Walkthrough to Signed Agreement
- Speak with a specialist to capture project details
- AI generates a comprehensive estimate instantly
- Review costs and adjust as needed
- Sign electronically and schedule your project
Installation Timeline & Cost Benchmarks
- Electric bathroom retrofit (50–100 sq ft) – 1–2 days, $800–$2,100
- Kitchen & dining zone (250–400 sq ft) – 3–4 days, $2,100–$4,300
- Whole-home hydronic (1,800–2,400 sq ft) – 10–14 days, $13,800–$48,000
Maintenance and Energy-Saving Tips
- Program setback temperatures overnight
- Add Wi-Fi thermostats for remote monitoring
- Schedule annual boiler tune-ups for hydronic systems
- Minimize rug use to prevent heat insulation
Finishing Touches: Flooring Compatibility
CountBricks ensures compatibility with various flooring types, verifying manufacturer heat-rating limits to protect warranties.
Ready to Feel the Difference?
Explore professional floor heating solutions with CountBricks. Visit CountBricks.com for more information.
Case Spotlight: Pacific Beach Bungalow Remodel
The Ramirez family transformed their 1940s bungalow with a low-profile electric mat system, enhancing comfort without altering thresholds. The project was completed efficiently, with AI-driven estimates and real-time supplier discounts.
Five Pro Tips for First-Time Radiant Owners
- Pair floor heat with a ceiling fan for efficient warmth circulation
- Install floor sensors for accurate readings
- Use a dedicated GFCI breaker for safety
- Seal grout properly to prevent unnecessary thermostat cycles
- Utilize CountBricks’ inspection plan for extended warranty coverage
Next Steps
Start your floor heating project with accurate data and transparent pricing. Visit CountBricks.com to begin.

