

For construction professionals looking to install an attic ladder, understanding the cost breakdown is crucial. Typically, the installation costs range from $400–$1,000, depending on factors such as material choice, ceiling complexity, and regional labor rates. This guide provides a detailed analysis of these cost drivers and offers insights into how to manage expenses effectively.
• Aluminum telescoping ladders: $250, lightweight but lower insulation value.
• Hardwood fold-down units: $250–$750, aesthetically pleasing.
• Fire-rated or insulated models: Add $150–$300, offering energy savings.
Higher ceilings and larger openings require more labor. An 8-ft ceiling may need 3–4 hours, while a 12-ft space could double that time.
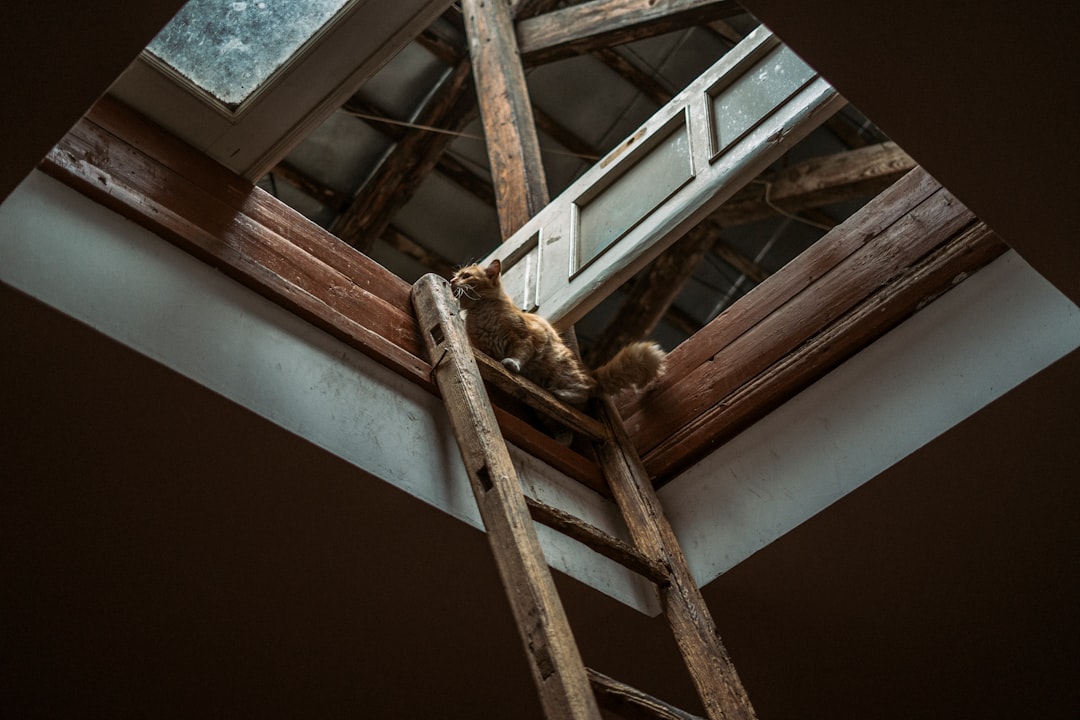
Opening joists or trusses involves shoring, new headers, and permits. Accurate pricing is essential to avoid unexpected costs.
• MDF casing: $2.00 per linear foot.
• Hardwood trim: $5.50 per linear foot.
• Spray-foam air sealing: $1.25–$2.00 per board-foot, reducing air leaks by 50%.
Carpenter rates vary from $45–$100 per hour. Accurate regional data ensures realistic estimates.
1. Ladder unit: $200–$600 (20–50% of total)
2. Rough opening/framing: $150–$400
3. Installation labor: $150–$400
4. Trim & paint: $100–$400
5. Insulation & air seal: $100–$400
6. Permit (if required): $100–$300
Total Average Project Cost: $400–$1,000
Utilizing AI-driven tools can streamline the estimation process, providing precise quotes by integrating real-time data and material catalogs.
1. Verify joist layout and check for conflicts.
2. Mark and cut the rough opening.
3. Install structural headers and framing.
4. Set and secure the ladder box.
5. Anchor the ladder frame and check clearance.
6. Trim, air seal, and test.
7. Finish carpentry and conduct a safety briefing.
While DIY might seem cost-effective, professional installation ensures structural integrity and compliance with local codes.
• Choose a ladder with a higher weight rating for durability.
• Schedule during larger projects to share costs.
• Opt for pre-primed materials to reduce labor costs.
• Use blueprint takeoffs to minimize surprises.
Accurate cost estimation for attic ladder installation is essential for construction professionals. By leveraging AI tools and understanding key cost drivers, you can ensure efficient and cost-effective projects.
The Dorsey family in Baton Rouge required an attic ladder installation, involving a hatch expansion to fit an insulated hardwood ladder. The project was completed efficiently with a total cost of $1,147.
• Ladder unit: $465
• Framing lumber & fasteners: $78
• Labor: $468
• Trim, paint, insulation: $136
• Permit: Not required
1. Transparency: Clear breakdown of costs.
2. Speed: Quick proposal delivery.
3. Flexibility: Multiple options for ladder models.
• Accurate data prevents change orders.
• Bundling services saves costs.
• Proper weather-stripping adds long-term value.
For precise estimates and professional installation, consider leveraging advanced tools and expert insights.
