Professional Guide: Add a Handheld Shower Head
Price source: Costs shown are derived from our proprietary U.S. construction cost database (updated continuously from contractor/bid/pricing inputs and normalization rules).
Eva Steinmetzer-Shaw
Head of Marketing
How to Add a Handheld Shower Head to a Shower—Professional Guide
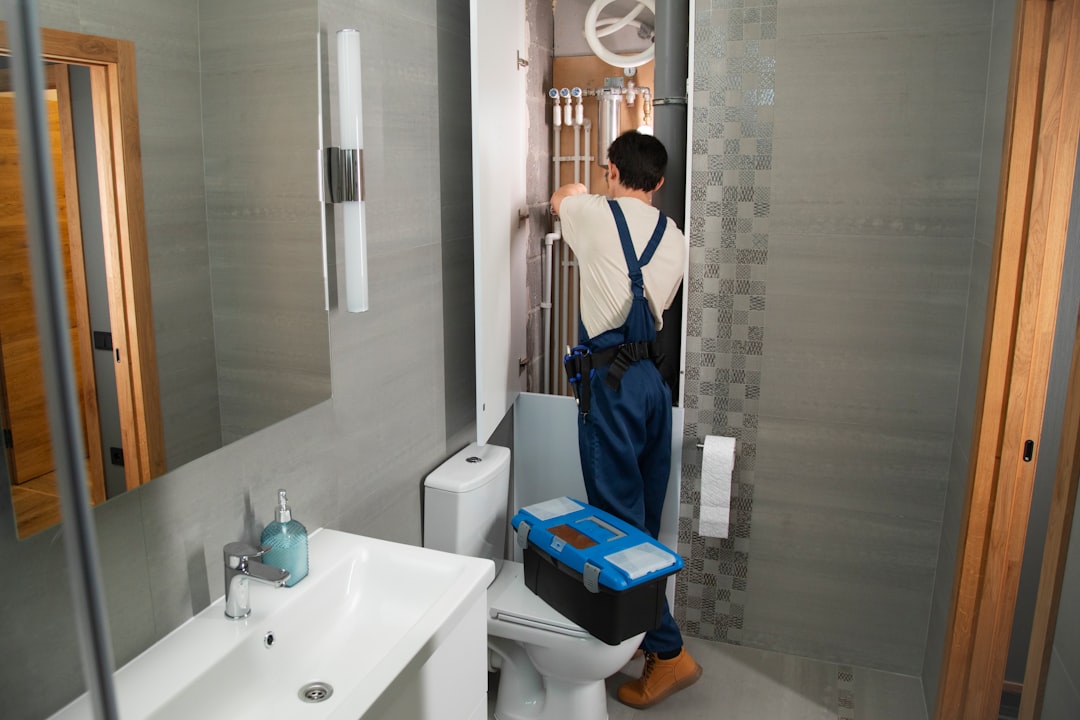
Installing a handheld shower head is a valuable upgrade for any bathroom, offering flexibility and enhanced functionality. For construction professionals, understanding the installation process and associated costs is crucial. Current installation costs range from $110–$180, depending on materials and labor rates. This guide provides a detailed walkthrough, ensuring you deliver quality results efficiently.
Benefits of a Handheld Shower Head
- Enhanced reach for cleaning and accessibility
- Improved usability for all ages and abilities
- Water-saving features to reduce utility costs
- Easy maintenance and adaptability for different users
Pre-Project Planning
Before starting, gather all necessary information using tools like CountBricks for accurate estimates. This includes assessing existing plumbing and calculating material needs based on local pricing.
Pro Planning Tips
- Confirm client preferences for finishes to avoid delays
- Schedule installations during low-usage times to minimize disruptions
Tools & Materials
- Handheld shower kit (includes spray head, hose, diverter, mounting bracket)
- Adjustable wrench or channel-lock pliers
- Plumber’s tape (Teflon tape)
- Soft cloth or rubber jaw covers
- Optional slide-bar assembly
- Safety gear: gloves and eye protection
Step-by-Step Installation
1. Shut Off and Prep
Close the water supply and release pressure by opening the shower valve. Protect surfaces with a towel.
2. Remove the Old Shower Head
Use a wrench to remove the old head, cleaning the threads thoroughly.
3. Attach the Diverter or Combo Bracket
Wrap threads with plumber’s tape and attach the diverter or bracket securely.
4. Connect the Hose and Handheld Head
Attach the hose to the diverter and handheld head, ensuring a secure fit.
5. Install an Optional Slide Bar
Mount the slide bar, considering accessibility guidelines.
6. Test for Leaks and Function
Turn the water back on and check for leaks, adjusting as necessary.
Estimated Time & Cost
- Typical install time: 0.75–1.25 labor hours
- Material cost range: $35–$80
- Contingency: 10% for unforeseen issues
Common Pitfalls and How to Avoid Them
- Cross-threading: Start threads by hand
- Skipping tape: Use Teflon tape on metal joins
- Over-tightening: Avoid cracking fittings
- Ignoring water pressure: Consider pressure-balanced valves
Enhance the Upgrade with Add-Ons
- Digital shower valves for precise control
- Low-flow aerators for conservation
- Full-height tile resurfacing for aesthetics
Wrap-Up
Adding a handheld shower head enhances bathroom functionality and value. Utilize tools like CountBricks for efficient project management and accurate cost estimation. Visit CountBricks.com for more information.
Case Study: Austin Bathroom Refresh
A Westlake homeowner sought improved accessibility for aging parents. Using CountBricks, three options were generated:
- Base Package: Handheld combo, grab bars, valve trim
- Comfort Package: Slide bar, anti-scald valve, non-slip floor
- Luxe Package: Comfort items plus frameless glass and tile
The Comfort Package was chosen, with costs calculated as follows:
- Material cost: $107.28
- Labor: 6.5 hours
- Completion: Two days, no change orders
Execution Highlights
- Real-time change logging kept teams synced
- Digital punch list for client approval
- Final invoice matched estimate, reinforcing trust
Lessons for Your Next Project
- Offer tiered options for smoother upsells
- Incorporate accessibility features
- Use AI takeoffs to prevent material gaps
Ready to Start?
For handheld functionality or full bathroom overhauls, connect with CountBricks. Explore success stories at CountBricks.com.