

Installing cedar siding professionally can range from $6 to $12 per square foot, depending on the complexity and location. Cedar siding is favored for its natural beauty and durability, making it a top choice for construction professionals. This guide provides detailed steps to ensure a successful installation.
Cedar siding offers a blend of aesthetic appeal and resilience, resisting moisture, insects, and harsh weather. This guide walks you through the professional installation process, ensuring flawless results on every project.
• Upload architectural drawings to our platform.
• AI detects wall dimensions and details.
• Receive a comprehensive material breakdown.
This process eliminates guesswork and costly overruns.
1. Open the Voice Console.
2. Describe the project scope.
3. Review real-time pricing for all components.
Clients see a transparent cost structure before starting.
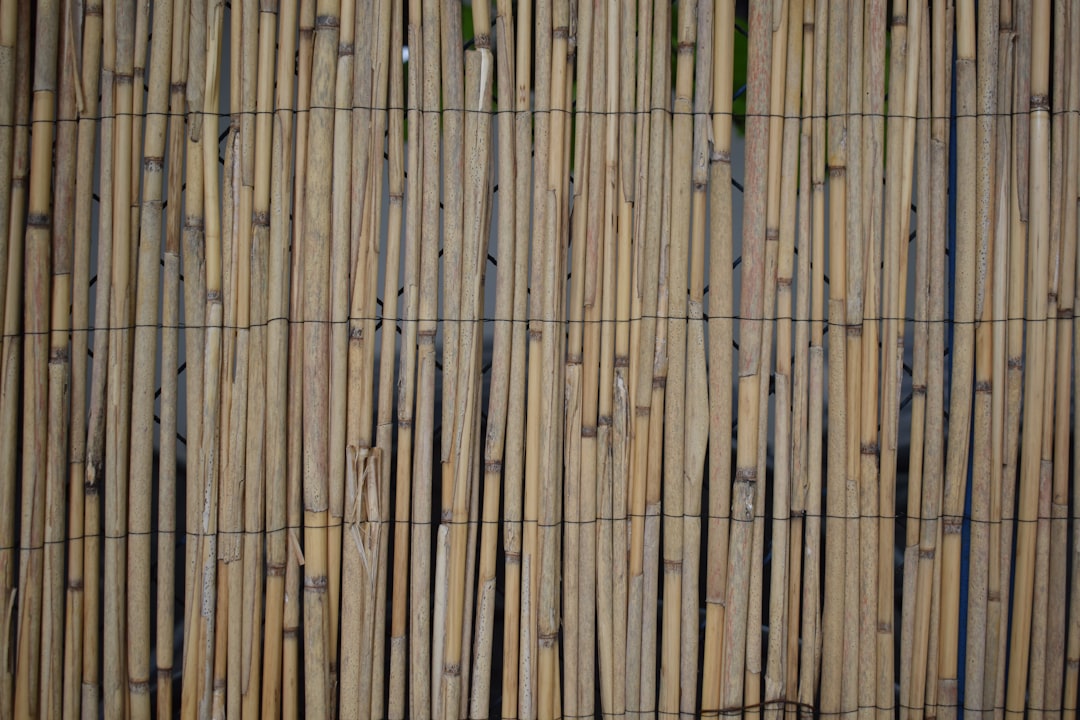
• Kiln-dried cedar siding options.
• Stainless-steel nails or screws.
• Weather-resistive barrier and house wrap.
• Vertical furring strips for rainscreen spacing.
• Flashing tape for openings.
• Corrosion-resistant starter strip.
• Inspect and fasten sheathing.
• Install house wrap horizontally.
• Seal penetrations with flashing tape.
• Attach furring strips at 16-inch centers.
• Leave a gap for air intake, protected by a bug screen.
1. Snap a level chalk line.
2. Fasten the starter strip.
3. Confirm level accuracy.
• Position the first board with the thick edge down.
• Face-nail near the top of the board.
• Maintain consistent reveal.
• Stagger joints a minimum of 24 inches.
• Slip metal Z-flashing above casings.
• Back-prime end cuts and joints.
1. Apply stain or acrylic within two weeks.
2. Back-brush to saturate end grain.
• Nailing too tight: Leave a gap for movement.
• Skipping rainscreen: Traps moisture and accelerates decay.
• Uneven reveals: Use reveal gauges for consistency.
• Ignoring acclimation: Store boards on site before installation.
Perform a 24-point inspection including moisture readings and fastener audits. Sync results to your project dashboard for a digital record.
For complex projects, schedule a consultation. Our team can assist with specialty requirements and pre-finishing options.
Mastering cedar siding installation requires skill and preparation. With our tools and expertise, ensure every project stands the test of time.
We partnered with a homeowner to replace vinyl cladding with cedar. Our AI takeoff engine provided an accurate material list, and the project was completed efficiently.
• Increased rainscreen depth for moisture management.
• Pre-finished boards shortened install time.
• Integrated smart flashing sensors for monitoring.
1. Reduced air leakage by 18%.
2. Extended maintenance cycle from 4 to 7 years.
3. Increased property appraisal by $42,000.
• Accurate takeoffs prevent over-ordering.
• Robust rainscreen protects against moisture.
• Documenting processes ensures quality and accountability.
