Professional Closet Door Installation Guide
Price source: Costs shown are derived from our proprietary U.S. construction cost database (updated continuously from contractor/bid/pricing inputs and normalization rules).
Eva Steinmetzer-Shaw
Head of Marketing
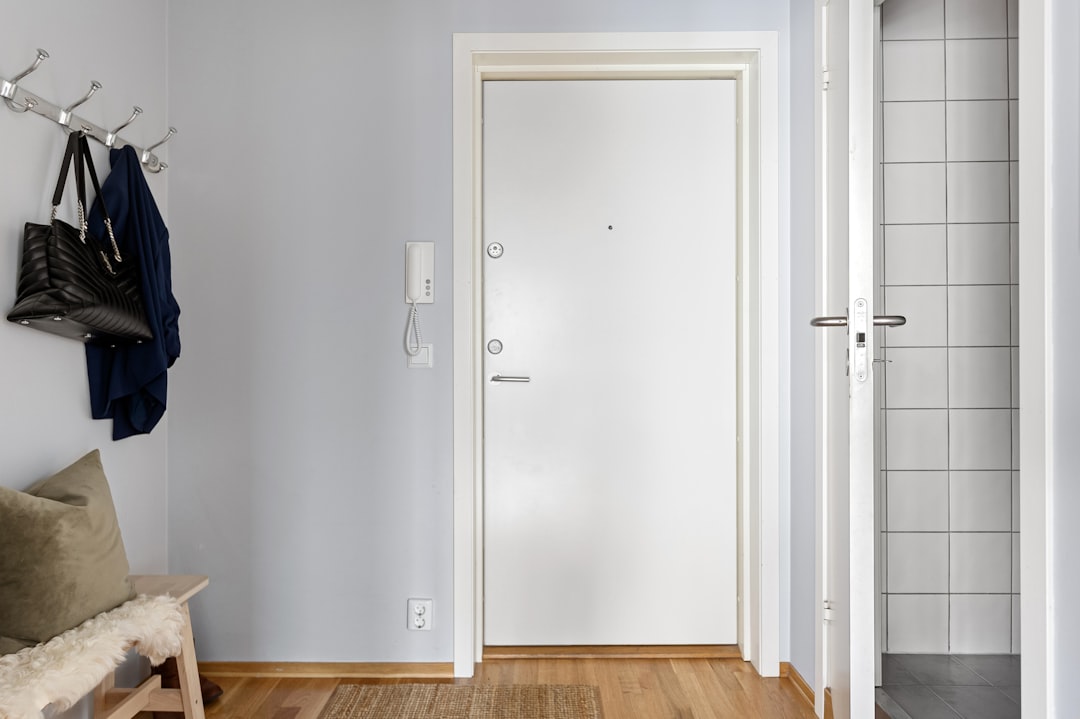
Why Closet Door Upgrades Matter in Residential Construction
Closet doors are a crucial element in residential construction, offering both aesthetic appeal and functional benefits. They enhance room design, protect stored items, and can increase property value. Professional installation ensures a perfect fit and smooth operation. Understanding the costs involved is essential for accurate project planning. Typical costs range from $340 for a standard swing door to $820 for designer mirrored sliders.
Before You Begin: Digital Prep with CountBricks
1. Visit CountBricks.com and start a 'New Door Set' estimate. Describe the dimensions and style of the door you plan to install.
2. Our AI provides real-time pricing for all necessary materials, eliminating the need for manual calculations.
3. Approve the autogenerated scope and export a ready-to-sign quote in minutes.
Tools & Materials Checklist
- Prehung swing door or bifold/slider panels
- Matching track kit or jamb hardware
- 4- or 6-foot level
- Shims and spacers
- Cordless drill/driver with Phillips and square bits
- Finish nails or trim screws
- Wood filler and caulk
- Tape measure
- Painter’s tape and drop cloths
Step-by-Step Installation Process
1. Confirm Rough Opening
Measure the width and height of the opening. Ensure it is 2 inches wider and 1 inch taller than the door unit. Correct any discrepancies before proceeding.
2. Set the Door Frame or Track
Center the jamb for swing doors or fasten the top track for sliders/bifolds. Ensure everything is level before securing.
3. Shim, Level, and Secure
Insert shims and check reveal gaps. Secure hinges or brackets once everything is aligned.
4. Hang Door Panels
- Swing Door: Set pins into hinges starting at the top.
- Bifold: Attach pivot hardware and ensure smooth operation.
- Sliding: Align panels and adjust rollers for silent movement.
5. Fine-Tune and Trim Out
Adjust screws for consistent gaps, secure casing, and apply finishing touches.
6. Final Inspection and Digital Close-Out
- Test door operation multiple times.
- Document the installation process and generate the final invoice.
Common Mistakes and How CountBricks Prevents Them
- Wrong Door Size: Our system flags discrepancies before orders are placed.
- Uneven Floor: Custom undercut dimensions are suggested by our AI.
- Missed Hardware: Auto-populated supply lists prevent last-minute store runs.
Cost Insights: Real Numbers from Recent CountBricks Projects
- Standard 30 x 80 swing door, primed: $150 material + $186 labor = $340
- Two-panel bifold 60-inch opening, paint-grade: $212 material + $226 labor = $440
- Designer mirrored sliders 72-inch opening: $545 material + $276 labor = $820
Prices adjust daily, but CountBricks estimates stay live, reflecting any supplier pricing changes automatically.
When to Call CountBricks Field Crew
For large projects or tight schedules, our licensed crews deliver professional results. Consider us for:
- Fast-track renovations needing multiple doors
- High-end custom closets
- Retrofits requiring special fastening
Get Started Today
Ready to transform your storage spaces? Visit CountBricks.com to start a voice chat with our AI estimator and receive a personalized action plan.
Case Snapshot: 12 Doors in One Day—A CountBricks Speed Build
Recently, a Palm Bay homeowner replaced outdated doors with sleek shaker panels throughout their home. Here's how CountBricks completed the project efficiently:
The Digital Phase
1. The client conducted a video walkthrough. Our AI measured each opening and pre-selected matching tracks.
2. A line-item estimate was provided and accepted digitally, scheduling the installation.
The Field Phase
- A two-person crew arrived with pre-sorted hardware, minimizing downtime.
- Technicians removed old jambs and prepared new shims based on our materials list.
- Prehung doors were installed seamlessly, with adjustments for existing tile transitions.
Results and Savings
- Labor finished 22% under budget, saving the client $311.
- Material price drops saved an additional $74.2 before invoicing.
- The homeowner praised the smooth process and lack of surprises.
Pro Tips from the Crew
- Order pre-hung doors for efficiency when replacing multiple units.
- Use trim screws for casing adjustments on imperfect drywall.
- Keep an off-cut of the old jamb for quick reference on shim thickness.
Extend the Advantage
Closet doors are just the beginning. CountBricks applies AI-driven precision to all aspects of construction. Explore more at CountBricks.com.