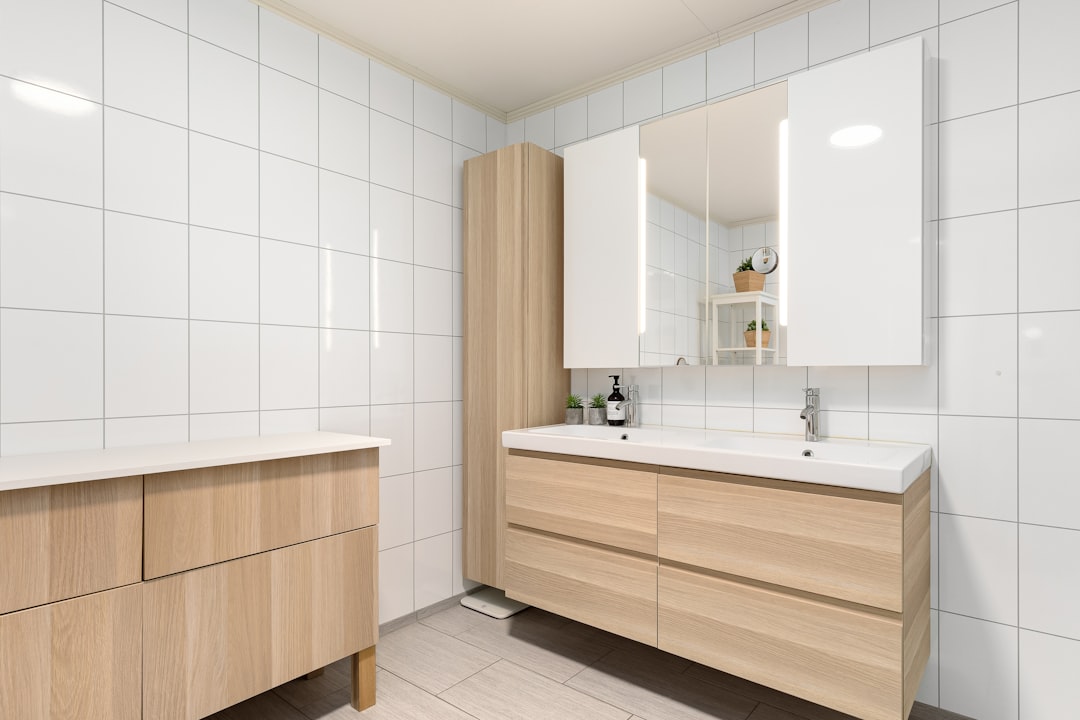
Few upgrades deliver as much functional punch per square foot as a new set of bathroom cabinets. From additional storage to an instant style refresh, the payoff is undeniable—yet only when installation is done correctly. CountBricks specializes in residential construction technology that makes every phase faster and more accurate, starting with AI-powered blueprint takeoffs and ending with polished cabinetry your clients will admire for years. In this step-by-step guide, our specialists break down exactly how to install cabinets in bathroom settings the CountBricks way.
• Upload drawings or snap onsite photos to CountBricks.com/blueprint and receive cabinet takeoffs within minutes
• Review autogenerated material lists—hinges, fillers, shims, fasteners—alongside real-time pricing pulled from local suppliers
• Approve, adjust, or duplicate line items, then export a formatted quote ready for signature directly from CountBricks.com/estimates
• Lock in schedules by syncing accepted quotes to the CountBricks project calendar so trades and deliveries align flawlessly
1. Pre-assembled or RTA cabinets verified for moisture-resistant construction
2. Mounting screws rated for stud or masonry anchoring
3. Wood shims and ledger board
4. Silicone or painter’s caulk for splash areas
5. Level, stud finder, tape measure, drill/driver, and safety gear
Measure twice, install once. Confirm rough-in plumbing, electrical, and floor slopes against the cabinet specs stored in your CountBricks digital job folder. Minor framing variances become glaring later if overlooked now.
Mark stud centers on the wall. Snap a horizontal line at the desired cabinet height—usually 34 1⁄2 inches from finished floor for vanities, or per plan for wall units. CountBricks mobile app allows you to annotate photos so your crew sees the same reference points.
Fasten a straight 1x3 just below the reference line. This ledger carries cabinet weight during installation, keeping units level and preventing costly drops.
Place the sink base or corner cabinet first because its placement dictates the rest. Elevate low spots with shims until the level bubble is dead center. Predrill through the sturdy cabinet back and drive screws into studs. Do not overtighten; leave room for final tweaks.
• Butt adjacent cabinets, clamp face frames flush, and pre-drill clearance holes
• Insert connector screws through the stiles, easing them in until the joint is tight but undistorted
• Check level and plumb with every addition—small errors compound quickly
Once all units are aligned, fully tighten mounting screws. Remove the ledger board and fill any holes with patch compound or matching caulk.
Gap-concealing trim delivers that custom, built-in look. Measure, cut, and nail fillers flush with cabinet faces. Silicone seals around wet zones keep moisture out of seams.
Rehang doors, adjust hinges so reveals are equal, and attach pulls or knobs. Soft-close hardware is a small upcharge that homeowners love—easily added in the estimating stage on CountBricks.com/services.
• Uneven Floors: Laser levels inside CountBricks’ augmented-reality measuring tool show exact high and low points before cabinets touch the room.
• Mismatched Materials: Real-time product databases flag any item that’s discontinued or back-ordered, so you substitute early instead of scrambling late.
• Hidden Costs: CountBricks AI estimates bundle labor, trim, finishes, and disposal so your profit doesn’t evaporate in change orders.
Cabinet installation often overlaps with other trades. CountBricks project timelines automatically notify plumbers and countertop fabricators once base cabinets are locked, reducing idle time and expensive callbacks.
DIY spirit is admirable, but bathrooms have tight tolerances. If the project involves:
• Structural wall changes
• Relocating supply lines or drains
• Custom built-ins around tubs or niches
bring in a licensed CountBricks contractor. Find certified partners at CountBricks.com/consultation.
Generate a punch list right inside the CountBricks dashboard. Mark items complete with photos, then export a branded warranty packet for homeowners—another way CountBricks keeps referrals flowing.
• Precise prep, solid anchoring, and sequential assembly are the backbone of how to install cabinets in bathroom renovations.
• CountBricks automates measurements, estimating, scheduling, and documentation so you focus on craftsmanship, not paperwork.
• Using our platform, contractors report 25% faster installs and 40% fewer change orders compared to traditional workflows.
Start your free project workspace at CountBricks.com/signup and see how easy professional cabinet installation becomes when AI handles the heavy lifting.

CountBricks recently partnered with Madison-area builder BrightHome to overhaul a 1980s master bath. The homeowner demanded ample storage without expanding the footprint. Here’s how CountBricks transformed the challenge into a streamlined win.
BrightHome uploaded the existing floor plan to CountBricks.com/blueprint. Our engine detected wall irregularities and suggested semi-custom 30-inch base units plus a slim linen tower. Material and labor costs populated instantly, giving the client a transparent price before demo day.
1. Cabinet delivery date synced automatically with demolition completion
2. Plumbing rough-in alerts triggered as soon as base cabinets were secured
3. Countertop templating scheduled through the CountBricks vendor network, shaving a full week off typical lead times
• QR-coded cabinet boxes linked to digital install guides, eliminating missing instructions
• AR overlay showed installers exact shim thickness at each corner, cutting leveling time by 40%
• Daily progress photos uploaded to the client portal, reducing check-in calls and boosting satisfaction scores
The project closed two days early and 3% under budget. Post-installation surveys ranked workmanship 9.8/10, and BrightHome secured two referral jobs—proof that mastering how to install cabinets in bathroom spaces starts with CountBricks technology.
• Preassemble faucet and drain kits before cabinet day to compress timelines
• Order tall fillers alongside cabinets; onsite ripping leads to veneer splintering
• Always leave a 1⁄4-inch reveal between cabinet edge and tiled walls to accommodate building movement
If you’re ready to replicate Madison’s success, open a free contractor dashboard at CountBricks.com/signup. Our AI estimator, live materials pricing, and automated document generation ensure your bathroom cabinet installs stay profitable, professional, and ahead of schedule.