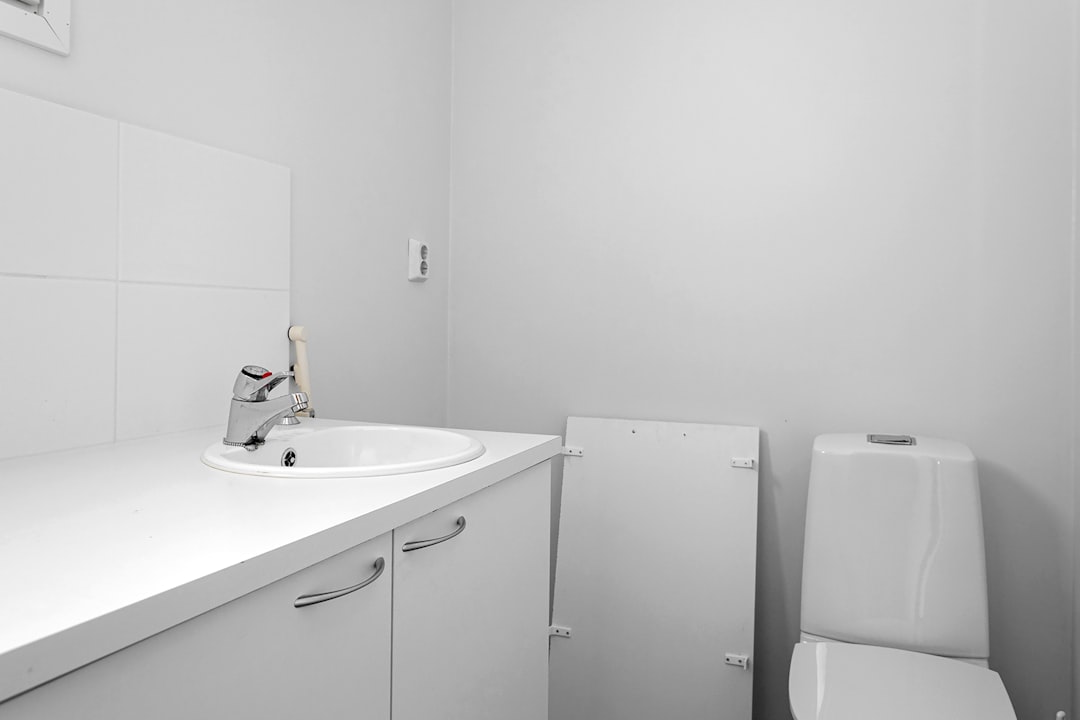
Installing bathroom cabinets requires precision and careful planning. Professional tradespeople need accurate estimates and efficient workflows to ensure profitability. This guide provides a comprehensive approach to installing cabinets in bathroom spaces, focusing on precision and cost management.
• Moisture, limited footprints, and existing plumbing demand tight tolerances
• Small misalignments create noticeable gaps and long-term water damage
• Professional craftsmanship strengthens resale value and client satisfaction
• Accurate estimating protects profit margins on residential projects
Before starting, ensure you have detailed measurements and a clear plan. Use digital tools to generate material lists and labor estimates. This preparation helps avoid costly mistakes and ensures a smooth installation process.
1. Mark Reference Lines: Measure from the finished floor to the desired top of base cabinets. Snap a level line and label stud centers for screw placement.
2. Dry-Fit and Shim: Set the first cabinet in position. Use a level front-to-back and side-to-side. Insert shims beneath the box for a perfectly plumb stance.
3. Secure to Studs: Predrill through the sturdy cabinet rail and drive two 2-½" screws into each located stud. Tighten gradually to avoid twisting the frame.
4. Connect Neighboring Cabinets: Clamp adjoining faces together, predrill, and fasten with trim head screws through the stile. Check level after each addition.
5. Install Wall Cabinets (if applicable): Measure down from the ceiling or up from the countertop allowance. Support boxes on a temporary ledger strip while fastening them to the wall.
6. Align Doors and Drawers: Adjust hinges and slides to maintain consistent reveals. Add bumpers and soft-close features to elevate perceived quality.
7. Seal Exposed Edges: Apply silicone where sides meet walls or tub surrounds to block moisture intrusion.
• Rushing measurements: Triple-check widths and heights. Use digital blueprints to verify dimensions.
• Ignoring stud layout: If studs don’t align with cabinet rails, add a ¾" hardwood cleat secured to multiple studs.
• Over-tightening screws: Use clutch settings on drills to stop at snug. Stripped particleboard loses holding power.
• All doors open fully without rubbing walls or faucets
• Drawer faces are flush and parallel
• Gaps at wall and floor are uniform and caulked
• Fasteners are concealed behind caps or touch-up paint
• Countertop substrate lands on at least ¾ of cabinet top rails
Traditional bids risk under-estimating finish carpentry hours. Use regional labor data to keep your bathroom cabinet installation pricing competitive and profitable. Update the scope mid-project and watch the estimate refresh instantly—no spreadsheets required.
Knowing how to install cabinets in bathroom spaces is a blend of precision carpentry and proactive planning. Pairing field-tested techniques with digital tools removes the uncertainty from both craftsmanship and cost management. Whether you’re a residential general contractor, this guide helps keep your project on level, on budget, and on schedule.

A San Jose homeowner needed storage in a 5' x 7' powder room without moving plumbing. Cabinets had to clear the sink trap, avoid the baseboard heater, and match existing oak trim.
1. Blueprint Takeoff: The client emailed a smartphone scan of the room. Extracted wall lengths, fixture clearances, and stud layouts in minutes.
2. Material & Labor Estimate: Defined shaker style, soft-close hardware, and satin lacquer. Priced maple boxes, finish carpentry hours, and delivery—totaling $2,980 with a two-day install timeline.
3. Field Execution: Pre-built a toe-kick frame in the shop. Onsite, the base cabinet was shimmed ⅛" to level on an uneven tile floor. A custom filler strip hid a subtle out-of-square corner, preserving symmetry.
4. Real-Time Adjustments: Discovered a hidden plumbing clean-out. Recorded a voice note, and auto-generated a $120 change order approved by the homeowner before work resumed.
5. Quality Verification: A final moisture reading confirmed 12% or lower in all wood surfaces. Silicone seams passed a 24-hour splash test, guaranteeing longevity.
• Keep a stack of composite shims in multiple thicknesses; bathrooms rarely have perfectly level floors.
• Use painter’s tape on finished edges while maneuvering cabinets through narrow doorways to prevent scratches.
• Set hinge adjustments with doors loaded by toiletries weight; minor sag shows only after shelves fill up.
• Accuracy: Dynamic regional pricing prevents budget overruns.
• Speed: Voice-to-quote workflow cuts bid prep from hours to minutes.
• Transparency: All changes are time-stamped, protecting both contractor and client.
Ready to elevate your next residential project? Explore more cabinet installations or book a live demo.