

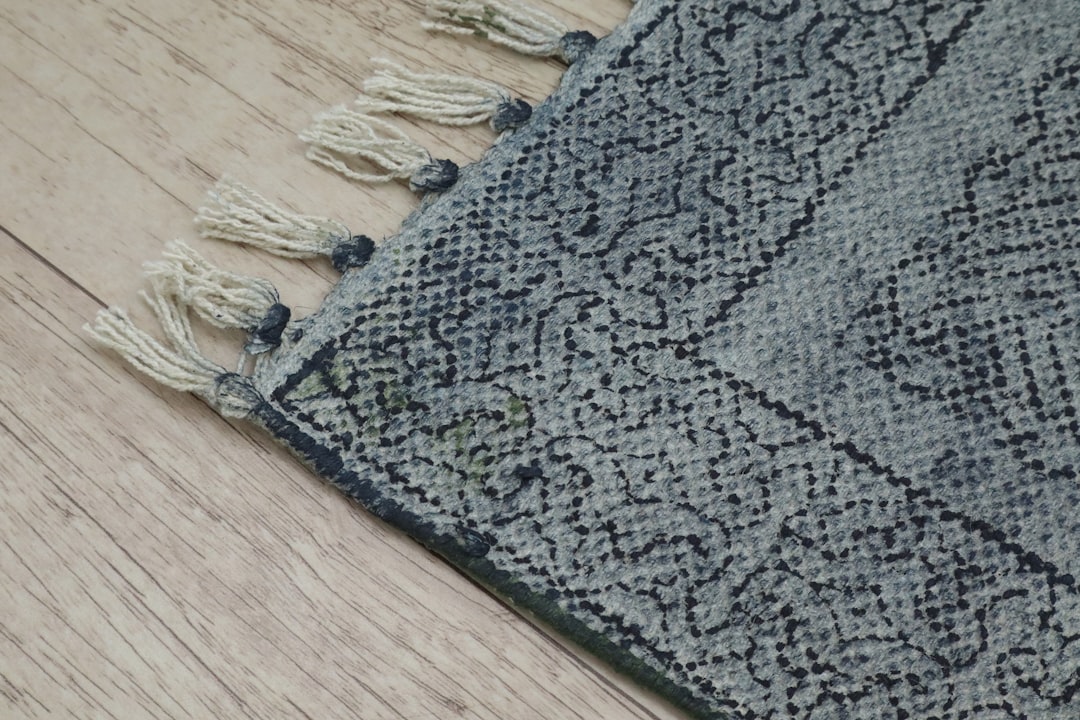
For construction professionals, ensuring the correct installation of carpet with padding is crucial for delivering quality results. Proper installation can prevent issues such as uneven surfaces and premature wear. The cost of professional carpet installation typically ranges from $700 to $1,300 per room, depending on the complexity and materials used. This guide provides a detailed look at the professional methods used to install carpet with padding, ensuring long-lasting and aesthetically pleasing results.
1. Upload your floorplan or let our technician create a digital measure.
2. Our AI takeoff engine calculates room dimensions, seam locations, and waste factors in seconds.
3. Receive an interactive estimate with multiple carpet and padding options, each tied to real-time supplier pricing.
• Zero guesswork on yardage or trim waste.
• Instant comparison of pad thickness, density, and R-value.
• Labor hours auto-adjust when rooms include stairs, closets, or complex cuts.
• Carpet rolls cut to measured lengths.
• Quality rebond or memory-foam padding (⅜- to ½-inch thick).
• Tack strips pre-scored for concrete or wood subfloors.
• Power stretcher and knee kicker.
• Seam tape and a hot-melt iron.
• Utility knife with fresh blades.
• 6-mil vapor barrier if the slab has moisture.
• Remove old flooring and adhesive.
• Check for squeaks and secure loose sheathing.
• Vacuum thoroughly—dust under padding invites odor and mold.
1. Position strips ⅜ inch from the baseboard.
2. Make sure angled pins face the wall.
3. Nail to wooden subfloors or use masonry anchors on slabs.
• Roll out padding with waffle side down and joints at right angles to future carpet seams.
• Butt edges snugly—never overlap.
• Staple to the subfloor every 6 inches or use pad tape on concrete.
• Trim flush with tack-strip inner edge.
1. Carry each pre-cut length into the room, label facing up.
2. Align the longest wall first to reduce seams.
3. Leave 3 inches excess at perimeter for final trimming.
• Warm seam tape with a hot-melt iron—keep iron moving to avoid burn marks.
• Marry pile directions for an invisible joint.
• Use a seam roller while adhesive is soft.
1. Set power stretcher head about 6 inches from wall.
2. Engage teeth and extend poles toward opposite wall.
3. Apply tension until carpet hooks onto tack pins.
4. Repeat around the room, alternating directions to balance tension.
• Use a wall trimmer or utility knife to cut excess.
• Tuck edges neatly under baseboard with a stair tool.
• Install metal transitions at hard-surface thresholds.
• Moisture meter reading under pad must fall below 12% before sign-off.
• Seams inspected under raking light for shadowing.
• Power-stretch tension logged into the project record via our mobile app.
Vacuum daily for the first week to remove shearing fibers. Place felt pads on furniture feet. Schedule a six-month warranty inspection to maintain eligibility for our extended wear guarantee.
DIY saves money only when: rooms are simple rectangles and you already own specialty tools. Otherwise, labor mistakes often exceed the installer’s fee. Let professionals manage the whole process—from measurement to final walkthrough—and enjoy flawless, warranty-protected results.
When the Rivers family in Reno wanted to replace worn builder-grade carpet, they worried about visible seams and lingering pet odors. A live voice consultation and AI takeoff provided an estimate comparing three pad densities and highlighted long-term cost of ownership.
• 520 sq ft of cut-pile PET carpet with 8-lb memory-foam pad.
• Seam reduced from four sections to two, thanks to optimized roll direction.
• Subfloor sealed with antimicrobial primer to neutralize prior odors.
• Installation completed in one day, saving the family two nights of hotel costs.
1. Sound transmission dropped by 7 dB, verified with on-site testing.
2. Thermal comfort improved—floor surface temperature averaged 3 °F warmer.
3. Zero visible seam shadows under morning light inspection.
• Choose pad density, not just thickness—an 8-lb pad resists crushing two times better than a 6-lb option.
• Always stretch carpet to 1.5% of length to avoid ripples; tension values logged in your client portal.
• Schedule annual steam cleaning to keep manufacturer warranties active.
If you’re weighing DIY vs. professional install, upload a photo of your room for expert advice. Whether you handle it yourself or let certified crews manage it, ensure clarity, speed, and craftsmanship in every flooring project.
