Professional Floor Insulation Installation Guide
Price source: Costs shown are derived from our proprietary U.S. construction cost database (updated continuously from contractor/bid/pricing inputs and normalization rules).
Eva Steinmetzer-Shaw
Head of Marketing
Floor Insulation 101: Professional Installation Guide
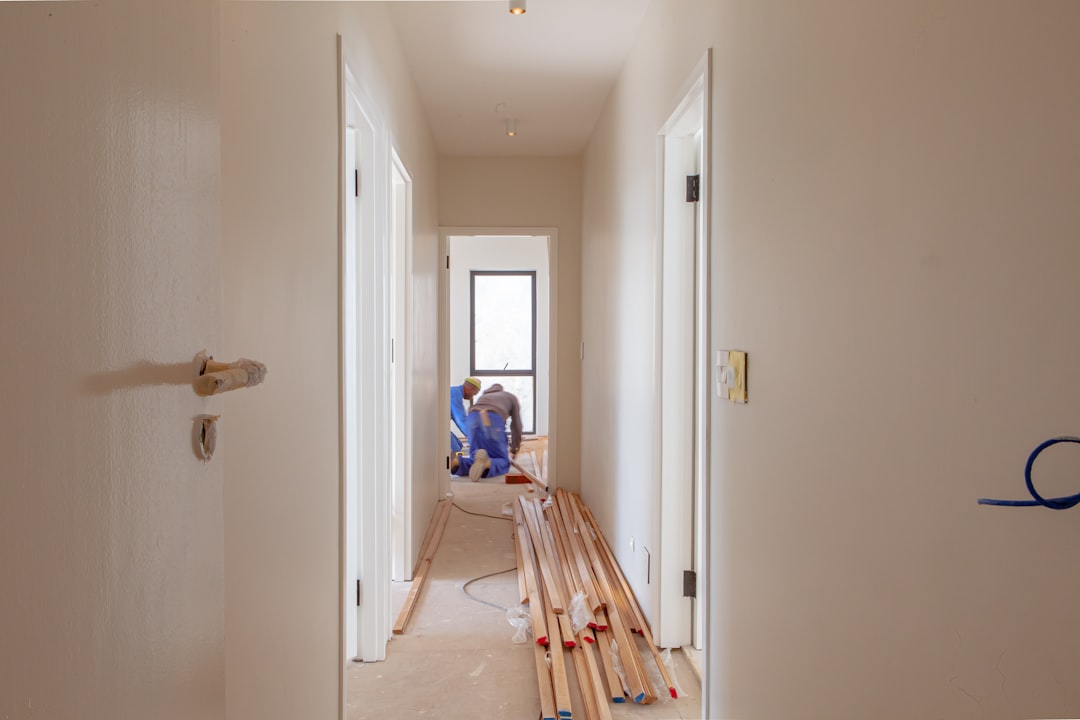
Installing floor insulation is crucial for maintaining energy efficiency, especially in colder climates like Montana. Proper insulation can prevent heat loss, reduce energy bills, and improve overall comfort. Current installation costs range from $1,500 to $4,000, depending on materials and labor.
Why Proper Floor Insulation Matters
- Prevents up to 15% of total household heat loss
- Reduces drafts from crawl spaces
- Minimizes condensation and moisture under floorboards
- Improves HERS ratings, enhancing resale value
- Lowers HVAC workload, extending system life
Materials and Tools Checklist
Ensure you have the following materials and tools ready:
- R-19 or higher fiberglass batts or mineral wool
- Continuous rigid foam boards for rim joists
- Construction adhesive for foam products
- Vapor-permeable membrane or faced batts
- 6 mil polyethylene for ground moisture barrier
- Staple gun, ½-inch staples, and insulation supports
- Safety gear: gloves, goggles, respirator, coveralls
CountBricks AI Tip
Upload your floorplan to CountBricks.com and our AI takeoff engine calculates exact square footage, joist spacing, and material counts in minutes.
Step-by-Step: How to Install Floor Insulation
- Inspect and Prep the Crawl Space: Remove debris, seal air leaks, and ensure the ground is dry. Lay 6 mil poly over soil for a vapor barrier.
- Measure Joist Bays: Verify bay widths and batt lengths. Ensure insulation is ½ inch wider than the cavity for a snug fit.
- Insulate Rim Joists First: Apply adhesive to the rim joist, press foam board firmly, and seal edges with spray foam.
- Install Batt Insulation: Press batts into each joist bay without compressing them.
- Secure with Supports: Use wire supports or staple fabric mesh every 18-24 inches.
- Address HVAC and Plumbing Penetrations: Fit batts around penetrations and seal voids with foam.
- Verify Vapor Management: Ensure faced batts have the kraft face against the conditioned side.
- Final Quality Check: Inspect for gaps and fill as needed.
Common Mistakes to Avoid
- Over-compression of batts
- Blocking crawl-space vents
- Neglecting to insulate HVAC boots
- Forgetting safety gear
How CountBricks Eliminates Guesswork
- Real-time voice capture for instant cost breakdowns
- Dynamic material pricing with daily updates
- Automated quote documents
- Integrated scheduling for seamless project management
Code & Compliance Snapshot
Montana's energy code requires floor assemblies over unconditioned spaces to achieve R-30. CountBricks presets these values in our templates for compliance.
Cost Breakdown Example
- Materials: $1,450
- Labor: $2,100
- Permitting & inspection: $150
- Total turnkey price: $4,000
Homeowners can save an estimated $420 per year in heating costs.
Next Steps
For professional floor insulation installation, visit CountBricks.com to get started with an AI-driven estimate.
Case Spotlight: The Greene Family Crawl-Space Retrofit
The Greene family faced cold floors in their 1970s ranch. Using CountBricks, they completed a walkthrough and received a detailed takeoff, including 142 linear feet of rim joist and 1,385 ft² of joist bays.
Project Timeline
- Quote Delivered: 7 minutes after call
- Materials Ordered: Same day
- Crew On-Site: 48 hours later
- Installation Complete: 1.5 days
- Inspection & Sign-Off: Passed with zero corrections
Performance Results
- Floor temperature increased to 67 °F
- Annual gas consumption dropped by 12%
- HERS score improved from 86 to 79
Lessons Learned
- AI takeoffs reduced material overage to less than 3%
- Scheduling automation prevented delays
- Real-time cost tracking saved $64
Pro Tips for Contractors Using CountBricks
- Enable “On-Site Mode” for verbal capture of joist spacing
- Create a “Floor Insulation R-30” template for repeat bids
- Use the photo log to document vapor barrier seams
Ready to Warm Up Your Next Project?
Visit CountBricks.com to streamline your floor insulation projects with accurate, code-ready estimates.