Installing an intercom system can range from $650 to $1,200 per opening, depending on the type and complexity. For trade professionals, understanding these costs is crucial for accurate project estimation and client satisfaction.
Modern intercom systems offer clear communication, enhanced security, and seamless integration with smart home devices. As a construction professional, knowing how to efficiently install these systems can keep your projects on budget and on schedule.
• Wired audio only – budget-friendly, ideal for small single-story homes
• Wired video – higher security, requires low-voltage cabling
• Wireless Wi-Fi – fastest to deploy, depends on stable network coverage
Walk the property and mark master station, sub-stations, and door stations. Use a printable site map for clarity.
Utilize tools to calculate conduit lengths, cable counts, and current labor rates for accurate project estimation.
• Low-voltage fish tape
• 18/2 or 18/4 shielded cable (for wired systems)
• Surface-mount boxes or single-gang cut-in brackets
• PoE injector or 16 V transformer as specified
• Drill/driver with paddle bits
• RJ45 crimp tool for IP video units
1. Shut off power at the breaker feeding the transformer location.
2. Pull cable from the transformer to the master station, leaving 300 mm service loops.
3. From the master, branch cabling to each sub-station using star topology.
4. Mount back boxes flush with wall finish; maintain a 1.5 m ergonomic height.
5. Terminate conductors according to manufacturer polarity chart.
6. Energize transformer and test for clear signal; adjust potentiometer if required.
1. Verify at least -65 dBm Wi-Fi strength at door station using a smartphone.
2. Drill a 19 mm chase just above the door trim for low-voltage power feed.
3. Use PoE if available; otherwise, route 18/2 to nearest receptacle box and install the included plug-in transformer.
4. Pair devices through the companion app, then link to the homeowner’s preferred smart assistant.
Create automation scenes for seamless integration with other smart devices, enhancing user experience and security.
Utilize real-time data to ensure accurate material and labor cost estimation, avoiding overestimation and maintaining project margins.
Ensure compliance with local codes and obtain necessary permits for low-voltage installations to avoid project delays.
• Always check for existing electrical or plumbing lines before drilling.
• Use grommets when passing cable through metal studs to prevent abrasion.
• Label transformer breakers clearly for future maintenance.
Conduct thorough testing of all intercom stations and provide clients with a comprehensive guide for system use.

A recent remodel required a six-station video intercom with gate release, integrated with existing smart systems. The project was completed efficiently with accurate cost estimation and seamless installation.
During a live session, the project manager captured all necessary details, allowing for precise material and labor estimation.
Real-time pricing adjustments helped maintain project margins despite market fluctuations.
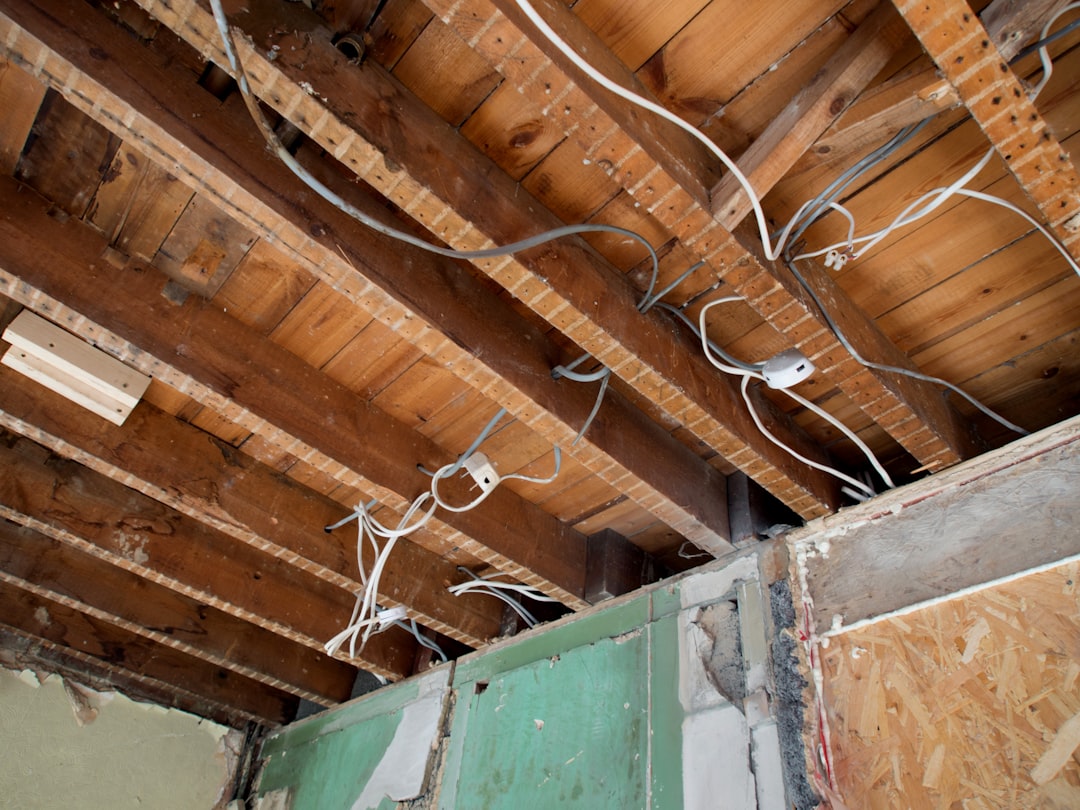
1. Open-wall phase allowed friction-free cable pulls before insulation.
2. Grommets were installed at metal stud penetrations to eliminate sharp-edge risk.
3. The pre-built automation was loaded, ensuring quick homeowner acceptance.
• Zero change orders related to the intercom scope
• 12% labor savings compared to initial schedule
• Positive client feedback and project success
• Reserve extra cable for multi-story homes.
• Use PoE to reduce transformer count and troubleshooting time.
• Provide digital guides for better client engagement.