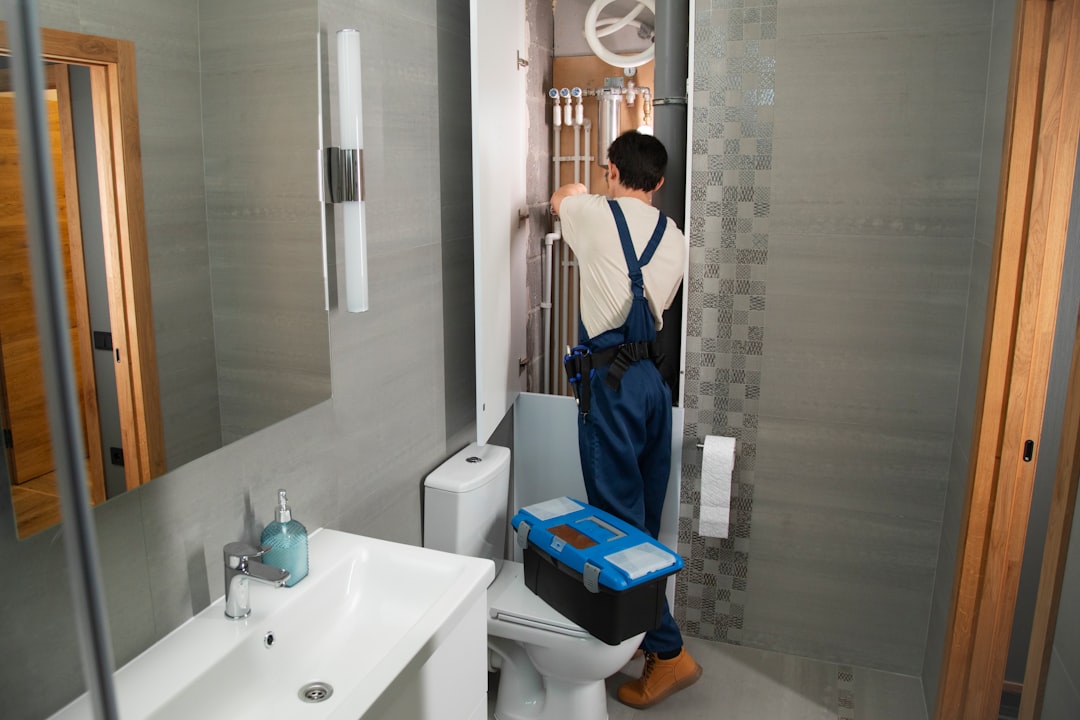
CountBricks: How to Install Sheetrock in Bathroom
Price source: Costs shown are derived from our proprietary U.S. construction cost database (updated continuously from contractor/bid/pricing inputs and normalization rules).
Eva Steinmetzer-Shaw
Head of Marketing
Introduction: Why Bathroom Sheetrock Is Different
Installing drywall in bathrooms requires special attention due to moisture and temperature fluctuations. Professional tradespeople must ensure precision to prevent issues like mold and structural damage. The cost for installing moisture-resistant drywall in bathrooms typically ranges from $700 to $1,300 per opening, depending on local labor rates and material choices. This guide provides a step-by-step approach to installing sheetrock in bathroom spaces, ensuring code compliance and durability.
Pre-Build Planning With CountBricks AI
Before starting, use CountBricks' AI tools to streamline planning. Our AI can:
- Capture room dimensions accurately
- Recommend moisture-resistant materials
- Provide real-time local pricing
- Generate a shareable estimate PDF
Effective planning helps avoid material overruns and ensures efficient project execution.
Materials You’ll Need
- Moisture-resistant sheetrock (green or purple board)
- Cement board for wet areas
- Galvanized drywall screws
- Paper tape or fiberglass mesh
- Mold-inhibiting joint compound
- Construction adhesive
- Acrylic or silicone sealant
CountBricks AI adjusts material quantities based on project specifics.
Step-by-Step Installation Process
1. Prepare the Framing
- Ensure studs are 16" on center and plumb
- Install backing for fixtures
- Apply vapor-permeable membrane if required
2. Pre-Cut Openings
- Measure and cut accurately for vents and boxes
- Use appropriate tools for precision
3. Hang Ceiling Panels First
- Run boards perpendicular to joists
- Apply adhesive and fasten securely
4. Hang Wall Panels
- Follow a strategic sequence to hide seams
- Stagger joints and maintain proper gaps
5. Transition to Cement Board in Wet Zones
- Use cement board where direct water contact occurs
- Ensure proper joint overlap and sealing
6. Tape and First Coat
- Embed tape in joint compound
- Feather out for smooth blending
7. Additional Coats and Sanding
- Apply additional coats and sand as needed
- Use dust control measures
8. Moisture Protection and Priming
- Seal edges with caulk
- Prime with mold-resistant primer
Code and Safety Considerations
- Use fire-rated board where required
- Ensure proper ventilation
- Use GFCI circuits for safety
Estimating Labor and Cost With CountBricks
CountBricks AI provides detailed labor and cost estimates, including:
- Crew hours by task
- Current labor rates
- Margin suggestions
- Branded proposal PDFs
Visit CountBricks.com for more information.
Troubleshooting Common Issues
- Cracked corners: Use paper tape and thin coats
- Popped screws: Replace and patch
- Peeling paint: Always use primer
When to Call CountBricks Professionals
For complex projects or warranty-backed results, consider hiring CountBricks professionals. Visit CountBricks.com for more details.
Conclusion
Installing sheetrock in bathrooms requires careful planning and execution. Use the right materials and techniques to achieve a durable, mold-free finish. Whether you DIY or hire professionals, start with an AI-generated estimate for success.
Case Study: A 6' × 10' Guest Bath Remodel
CountBricks transformed a dated guest bath into a modern space. The project focused on durability and efficiency, completed in just two days.
AI-Powered Pre-Construction
- AI-generated takeoff for materials and labor
- Fixed price approved in a single session
On-Site Execution
- Day 1: Ceiling and walls installed
- Day 2: Finishing and ventilation upgrades
Outcome and Metrics
- Material usage within 3% of estimate
- Labor completed under forecast
- Moisture levels confirmed optimal
Pro Tips From the Field
- Use adhesive on ceiling joists
- Feather compound wider for better results
- Use a laser level for precision
Ready to Elevate Your Bathroom Project?
Visit CountBricks.com to learn more about our services and how we can assist with your next project.

