Install Bathroom Tile for Residential Projects
Price source: Costs shown are derived from our proprietary U.S. construction cost database (updated continuously from contractor/bid/pricing inputs and normalization rules).
Eva Steinmetzer-Shaw
Head of Marketing
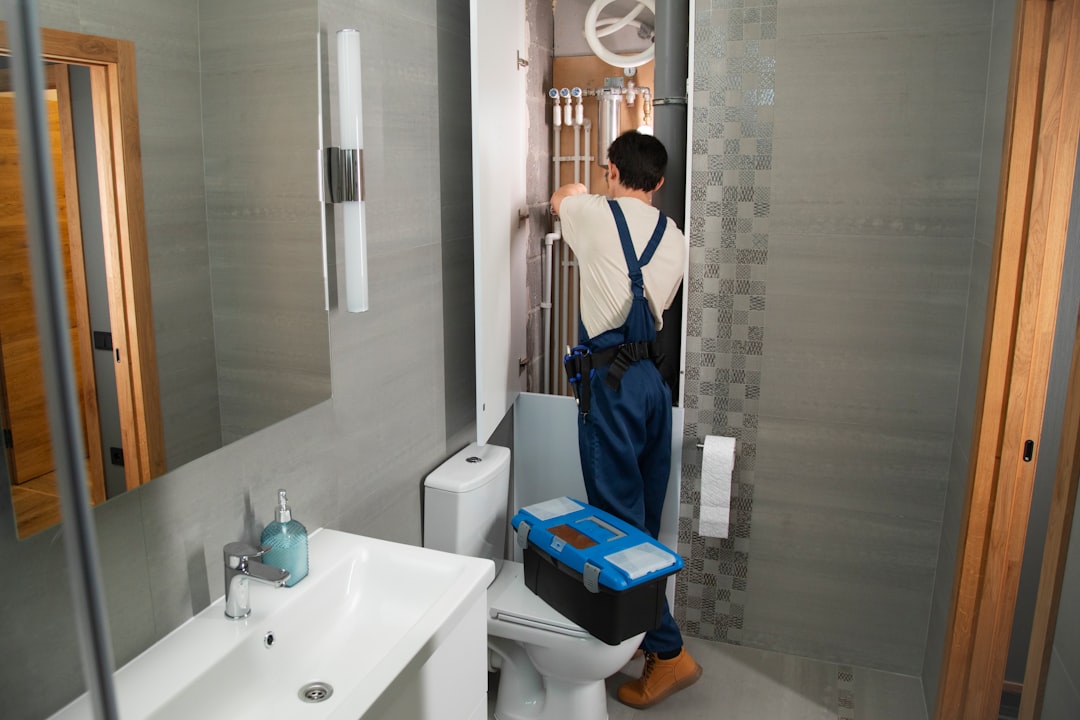
Transform Your Bathroom: A Guide to Perfect Tile Installation
Installing bathroom tile professionally requires precision and planning. Costs can range from $660–$1,210 per opening, depending on materials and labor. This guide blends proven trade techniques with technology to deliver standout residential bathrooms—on time and on budget.
Why Tile Remains the King of Bathroom Finishes
- Durability in wet zones means fewer callbacks and warranty headaches
- Endless design options—from porcelain that mimics marble to artisan mosaics—help win over style-savvy clients
- Easy maintenance boosts long-term homeowner satisfaction and your referral rate
Because tile is both functional and fashionable, demand has surged. The challenge is quoting accurately and installing efficiently.
Pre-Planning With AI Estimates
Accurate measurements and material allowances are the backbone of any profitable flooring project. Use mobile apps to speak room dimensions, tile size, desired pattern, and trim details. In seconds you’ll receive:
- Square footage plus a waste factor based on the pattern complexity
- Current tile, thin-set, grout, and backer board pricing pulled from real-time supplier feeds
- Labor hours calibrated to your crew’s historical productivity
Need a polished proposal? Export the data to a branded PDF quote or a detailed invoice with one tap.
Material Selection: Balancing Aesthetics and Performance
Tile Types
- Porcelain: Low absorption, ideal for showers and floors
- Ceramic: Budget-friendly for powder rooms and accent walls
- Natural Stone: Luxury feel, but requires sealing and precise substrate prep
Underlayment Choices
- Cement backer board for traditional strength
- Uncoupling membranes for crack isolation over new concrete slabs
Auto-suggest compatible thin-sets and grouts once you pick the tile family, eliminating spec mismatches.
Step-by-Step Installation Workflow
Surface Preparation
- Remove existing flooring and inspect the subfloor for deflection.
- Repair joists or apply self-leveling underlayment where required.
- Install backer board with corrosion-resistant screws, staggering seams.
Layout and Dry-Fit
- Snap perpendicular chalk lines at the room center to prevent tapered cuts at walls.
- Dry-lay a row with tile spacers to confirm pattern symmetry.
- Adjust layout to hide sliver cuts behind vanities or in shower returns.
Setting the Tile
- Mix thin-set per manufacturer specs; display water ratios.
- Comb mortar with the proper trowel notch and back-butter large-format tiles.
- Place tiles using a leveling system to avoid lippage, checking lines every few rows.
Grouting and Finishing
- Allow thin-set to cure 24 hours, then remove spacers.
- Apply grout at a 45-degree angle, packing joints fully.
- Clean haze with a damp sponge; polish once dry.
- Seal grout or stone surfaces if required.
Leveraging Technology for Scheduling and Procurement
Confirm the estimate, and automatically populate a Gantt-style schedule and send purchase orders to preferred suppliers. Materials arrive on the day you need them, not weeks early when storage space is tight or cash flow is thin.
- Real-time delivery tracking reduces downtime
- Task notifications keep crews aligned without endless text threads
- Voice updates—“Tile demo complete”—instantly adjust project timelines in the app
Common Installation Mistakes and How to Avoid Them
- Inaccurate waste factor: Consider herringbone or diagonal layouts and add the proper overage automatically
- Underbidding labor: Historical performance data prevents guessing and safeguards profit margins
- Material mismatch: Cross-check ANSI standards so your thin-set, grout, and tile form a compatible system
- Poor moisture management: Flag when vapor barriers or waterproofing membranes are mandatory
Final Quality Checks and Client Handover
Before the homeowner sees the transformed space, run through a punch list:
- Confirm grout lines are even and color-consistent
- Verify transitions to hardwood or carpet are flush
- Photograph the finished floor for marketing assets
Finally, generate a maintenance sheet—automatically populated with the selected grout and sealer information—so the client knows exactly how to care for their new floor. Satisfied customers mean five-star reviews and more referrals into your residential pipeline.
Ready to Install Bathroom Tile the Smarter Way?
Pair proven craftsmanship with technology and transform bathroom remodels into predictable, profitable projects. Start your next estimate and experience the power of voice-driven construction management.
Case Spotlight: 120 sq ft Austin Ensuite Makeover
A recent Austin homeowner wanted to replace dated vinyl with large-format porcelain tile. Traditional quoting approaches varied by 30% among local contractors. The winning team used technology, and here’s how:
- Voice measurements captured: “Ten by twelve foot bathroom, 12x24 tile, brick pattern.”
- Instantly calculated 140 sq ft of tile with 15% waste for staggered joints.
- Labor was set at 1.9 installer hours per 10 sq ft based on the crew’s historical averages.
- Purchase orders auto-sent to the supplier locked in pricing before a scheduled price increase, saving the homeowner $323.
Execution Highlights
- Delivery arrived the morning demolition finished, eliminating onsite clutter.
- The crew uploaded progress photos daily; timestamps flagged a potential delay when a vanity backorder appeared, allowing time to resequence tasks and stay on schedule.
- Final inspection used a punch-list template. Zero items remained open at handover.
Results
- Total project duration: 4.5 working days, down from the regional average of 6-7 days
- Profit margin: 18%, a 5-point increase over the contractor’s previous bathroom jobs
- Client satisfaction: 5-star review, plus a referral that converted into another remodel
Three Pro Tips for Future Tile Projects
- Integrate supplier APIs so price fluctuations update automatically—no hidden surprises on bid day
- Record installer productivity by tile size; AI suggestions will fine-tune your future labor factors
- Use voice memos to note subfloor conditions during the walk-through, creating a digital paper trail that protects against change-order disputes
From suburban en-suites to whole-house flooring upgrades, equip residential contractors with the insights, automation, and confidence to install bathroom tile the smart way. Explore the full feature set and elevate your next project.