

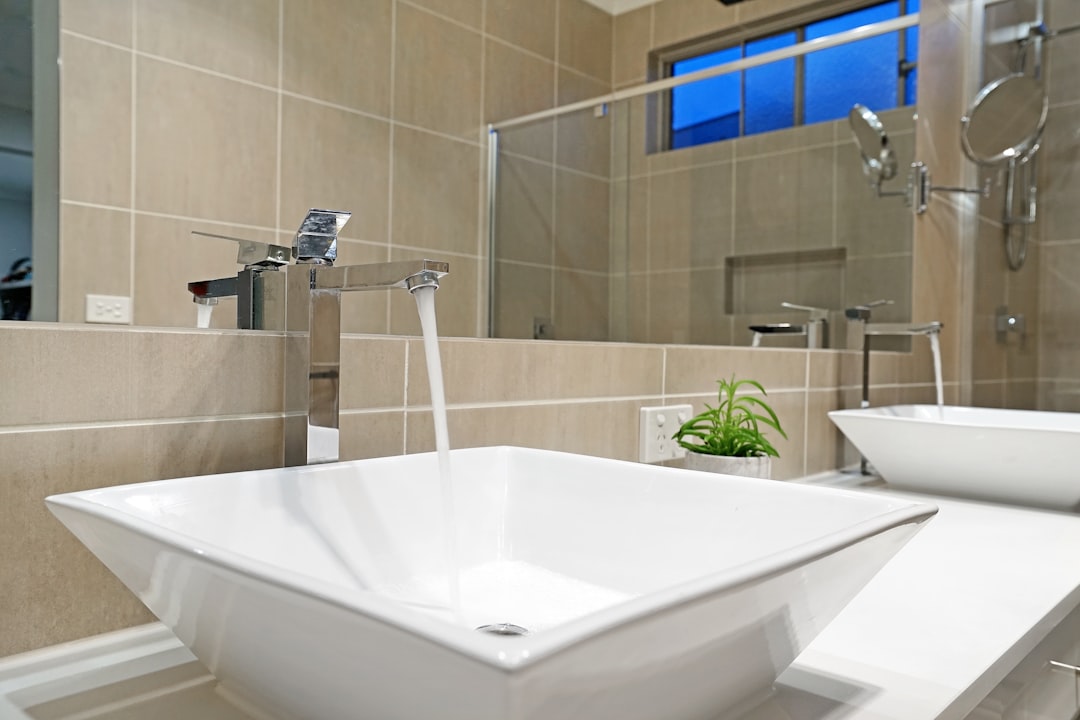
Installing a bathtub overflow is crucial for preventing water damage and ensuring code compliance. The cost for a brass overflow kit ranges from $50 to $150, while PVC kits are typically $20 to $50. Labor costs can vary, averaging $140 to $200 per installation depending on complexity and location.
• Water intrusion is a leading cause of warranty callbacks.
• Incorrect gasket compression can void warranties.
• Inspectors focus on overflow height and trap arm slope.
• Plumbing details impact perceived build quality.
• Difficulty finding current pricing for materials.
• Unclear labor allowances in tight spaces.
• Blueprint discrepancies causing on-site guesswork.
• Manual data entry delaying invoicing.
Real-time voice capture—Dictate measurements directly into your estimate.
Live material costs—Stay updated with national supplier pricing.
Automated blueprint takeoffs—Quickly count required assemblies.
Instant labor benchmarking—Adjust man-hours for different tub types.
1. Measure and mark: Confirm rough-in height and centerline.
2. Dry fit the waste shoe: Align and hand-thread the flange.
3. Assemble the overflow: Attach the tee and cut pipe to length.
4. Secure the faceplate: Apply gasket and screw the plate snugly.
5. Connect to the trap: Ensure proper slope toward the drain.
6. Water test: Inspect for leaks before closing the wall.
• Use silicone on acrylic tubs; rubber gaskets for cast-iron.
• Label kits to prevent mix-ups.
• Use a telescoping mirror for inspections.
• Photograph connections for documentation.
• Conduct a second water test post-tile installation.
Use voice commands to add items to your estimate. Get current pricing, labor standards, and total costs instantly. Generate branded proposals with ease.
• Overflow must be at least 2" below the tub rim.
• Trap arm length restrictions apply.
• Vent connection proximity to the trap is crucial.
Embed local code snippets into estimates to ensure compliance.
From planning to invoicing, streamline your workflow with advanced tools. Visit CountBricks.com for more information.
BrightWave Homes partnered with CountBricks for a renovation project in Fort Worth, installing three brass overflow kits in tight alcoves.
• Timeline: 10 working days
• Overflow assemblies: 3 brass kits
• Crew size: 2 plumbers, 1 assistant
