Install Prehung Entry Door | Professional Guide
Price source: Costs shown are derived from our proprietary U.S. construction cost database (updated continuously from contractor/bid/pricing inputs and normalization rules).
Eva Steinmetzer-Shaw
Head of Marketing
Professional Installation of Prehung Entry Doors
Installing a prehung entry door is a strategic upgrade for construction professionals, offering efficiency and precision. Current installation rates range from $500–$1,900 per opening, depending on materials and complexity. This guide provides insights into the benefits, process, and cost considerations for trade professionals.
Benefits of Prehung Entry Doors in Construction
- Factory-aligned hinges and weatherstripping ensure consistent energy performance.
- Door slab, frame, and sill arrive as a single unit, reducing install time by up to 60%.
- Improved air seals lead to lower utility bills and enhanced comfort.
- Prehung assemblies minimize site waste, ideal for green-build projects.
Planning Your Installation
- Voice Measurement Capture: Use digital tools to capture precise measurements, creating a digital blueprint instantly.
- AI Material Match: Cross-reference local supplier databases to select door sizes, jamb materials, and hardware within budget.
- Real-Time Estimate: Generate a detailed cost breakdown, including labor, materials, and taxes, ready for approval.
Key Cost Factors
- Door Material: Steel units are generally 15% less expensive than fiberglass, which offers superior R-value and dent resistance.
- Rough Opening Adjustments: Additional costs may apply for framing adjustments to ensure a square install.
- Hardware Upgrades: Smart locks and designer handlesets can add $100–$300 to the total cost.
- Finish Requirements: Stain-grade doors require extra sanding and sealing, which can be scheduled to align with other trades.
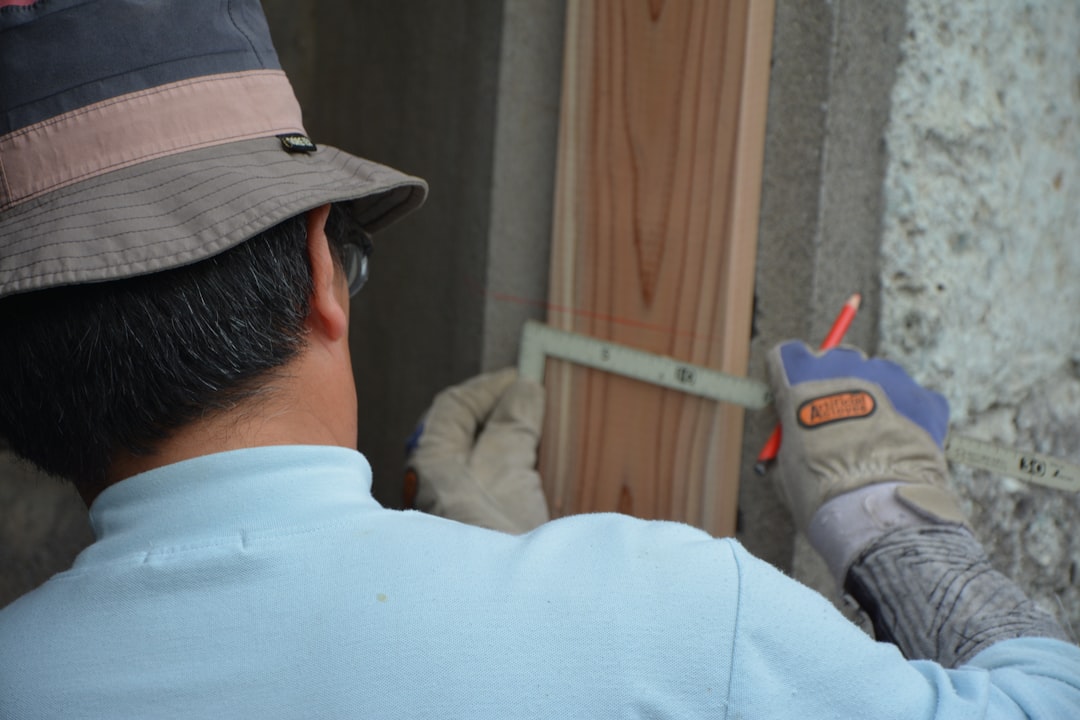
Step-by-Step Installation Process
- Remove Old Unit: Carefully extract the existing door and jamb to minimize drywall damage.
- Prep Opening: Verify dimensions, apply flashing tape, and set waterproof shims for a level base.
- Set the Prehung Assembly: Dry-fit the door, check for reveal gaps, and secure with construction screws.
- Air & Water Seal: Apply low-pressure foam and silicone caulk for a tight seal.
- Trim & Finish: Reinstall or upgrade interior casing, fill nail holes, and prepare surfaces for finishing.
How to Avoid Common Installation Mistakes
- Over-Foaming: Use low-expansion foam to prevent jamb bowing.
- Ignoring Sill Flashing: Always include self-adhesive pans to prevent rot.
- Misaligned Strike Plates: Secure plates to framing lumber for durability.
Get a Professional Quote
Visit CountBricks.com to start a project and receive a detailed proposal, complete with material options, timeline, and payment milestones.
Case Study: Riverbend Bungalow
Discover how CountBricks facilitated a seamless door replacement for a 1950s bungalow, enhancing energy efficiency and preserving mid-century charm.
Project Objectives
- Reduce air infiltration to improve HVAC efficiency.
- Preserve mid-century charm with a period-correct half-lite fiberglass prehung unit.
- Complete installation between cabinet delivery and flooring install to maintain schedule.
CountBricks Approach
- Utilized AI to generate a material list in seconds, ensuring quick decision-making.
- Locked in supplier pricing and generated an e-signature quote promptly.
- Scheduled installation to avoid trade overlap, with reminders for other crews.
- Completed installation efficiently, reducing envelope leakage by 38%.
Results
- Zero delays, with subsequent trades starting on time.
- Projected $252–$1,524 annual savings in energy costs.
- High homeowner satisfaction with smooth coordination and cost transparency.
Lessons for Future Projects
- Utilize inventory data early to avoid style compromises.
- Lock in client decisions with AI change orders before demolition.
- Use scheduling tools to create buffer windows between trades.
Explore more success stories at CountBricks.com.