Professional Tips: Installing Toilet Wax Rings
Price source: Costs shown are derived from our proprietary U.S. construction cost database (updated continuously from contractor/bid/pricing inputs and normalization rules).
Eva Steinmetzer-Shaw
Head of Marketing
Installing a Toilet Wax Ring: A Comprehensive Guide for Construction Professionals
In 2026, labor costs for tasks such as toilet wax ring installation are crucial for construction professionals aiming to maintain efficiency and profitability. Average labor costs for this task typically range from $80–$130 per hour. Standard wax rings are priced between $2–$15 and $2–$15, while extra-thick variants range from $8–$15. Getting these details right can prevent moisture damage and costly repairs, ensuring project timelines are not disrupted.
| Material | Approximate Cost (2026) |
|---|
| Standard Wax Ring | $2–$15 |
| Extra-Thick Wax Ring | $8–$15 |
| Closet Bolts & Washers | $3–$10 |
| Labor (per hour) | $80–$130 |
Understanding the Role of a Wax Ring
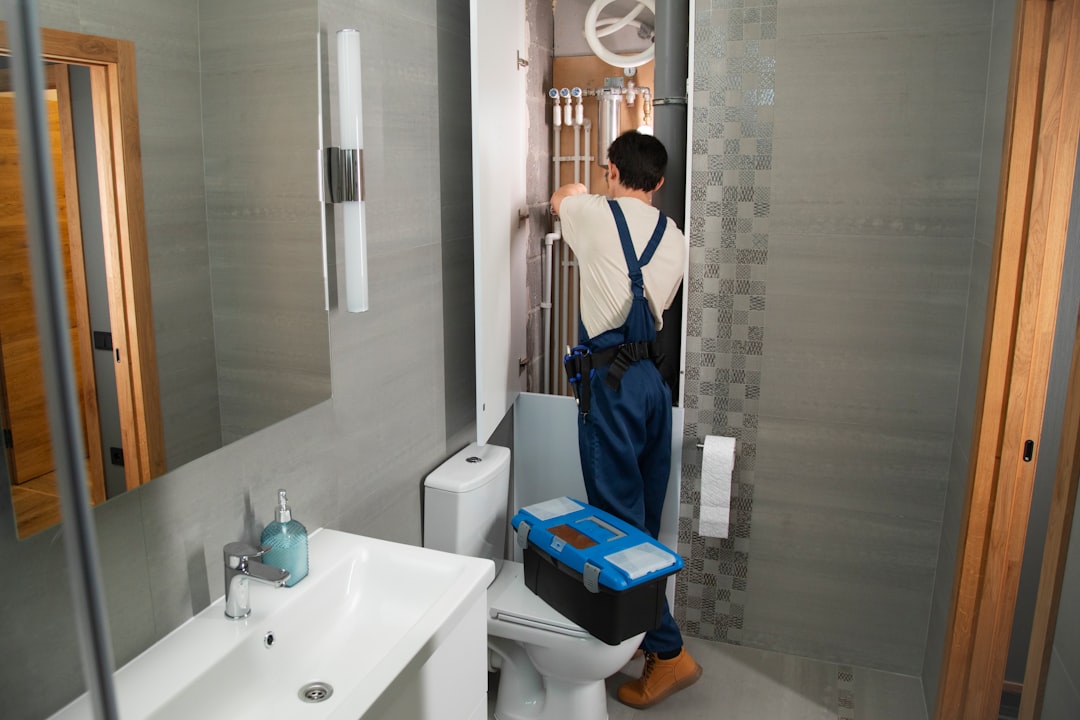
The wax ring is a small but vital component that seals the toilet base to prevent leaks and block sewer gases. Errors in its installation can lead to substantial repair costs and timeline setbacks. For professional trades, a flawless installation is critical to protecting subfloors and maintaining project schedules.
Materials and Tools Required
- Wax ring (standard or extra-thick)
- Closet bolts and washers
- Adjustable wrench
- Putty knife or scraper
- Nitrile gloves
- Disposable rags
- Level
- Replacement flange or spacer (if needed)
Step-by-Step Installation Process
- Shut off the water supply and flush the toilet to drain any remaining water.
- Detach the tank lid and disconnect the water supply line.
- Remove the toilet by unbolting and setting it aside carefully.
- Clean the flange of any old wax, inspecting for damage.
- Ensure the flange height is correct; add a spacer if needed.
- Attach the new wax ring to the toilet horn.
- Install new closet bolts in the flange.
- Align the toilet over the bolts and lower it carefully.
- Tighten bolts without overtightening to avoid cracking.
- Reconnect the water supply, flush to test for leaks, and caulk as needed.
Common Mistakes to Avoid
- Installing the ring on a damp flange
- Reusing old bolts, risking stripped threads
- Flange damage oversight
Utilizing AI Tools for Accurate Estimation
Leverage AI tools to enhance precision in estimating materials and labor costs. These technologies streamline project planning, ensuring trades stay competitive and profitable.
Case Study: Streamlining Bathroom Remodels with AI Estimation Tools
A construction firm encountered delays when a wax ring failure caused flooring damage. By utilizing AI tools, they recalibrated material needs efficiently, reduced additional expenses, and completed the project ahead of schedule.
Solutions and Strategies
- Immediate recalibration of material needs using AI estimation tools
- Seamless schedule adjustments to minimize downtime
Insights for Professionals
- Implement comprehensive flange checks in pre-job planning to prevent issues.
- Utilize dynamic scheduling tools to keep projects synchronized and efficient.
Key Takeaway
Effective management of technical details like wax ring installation is crucial to maintaining project continuity and success. Use advanced estimation technologies to optimize efficiency and profitability in residential construction projects.