Guide to Installing Window Well Safely
Price source: Costs shown are derived from our proprietary U.S. construction cost database (updated continuously from contractor/bid/pricing inputs and normalization rules).
Eva Steinmetzer-Shaw
Head of Marketing
Installing Window Well: A Complete Residential Guide
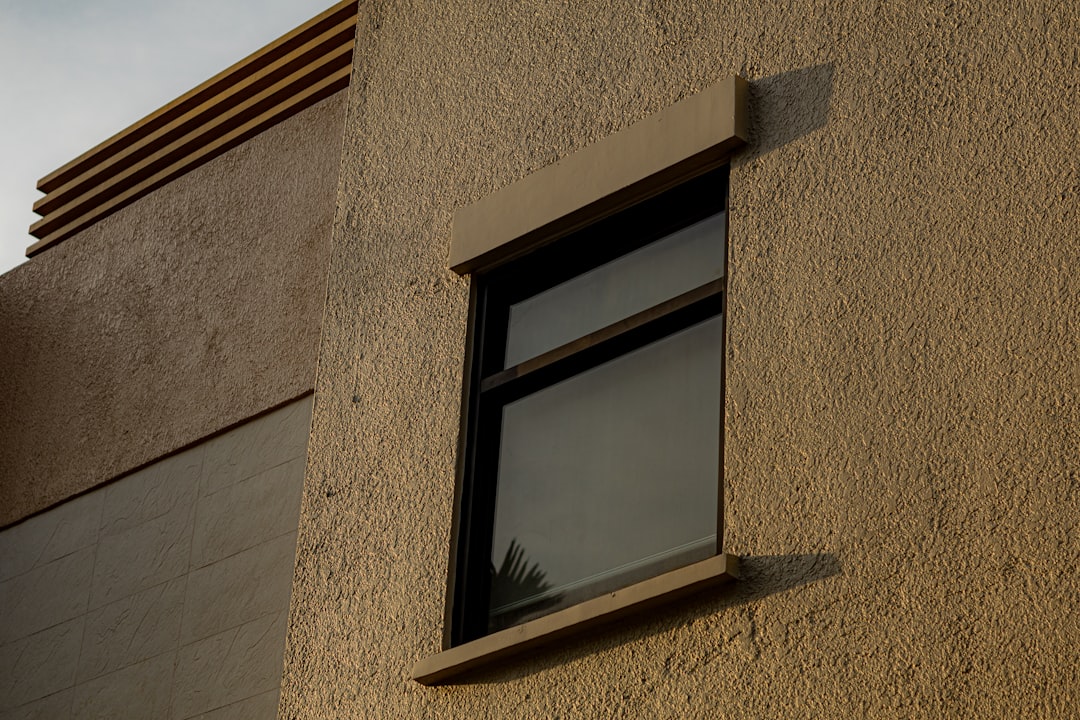
For construction professionals, installing a window well is a strategic move to enhance basement functionality. The cost of installing a window well can range from $800–$2,500 per opening, depending on materials and site conditions. Successful installation requires precise excavation, structural know-how, and airtight budgeting. This guide provides insights into the process, ensuring clarity and cost-certainty for contractors.
Why Window Wells Matter in Modern Homes
- Natural light transforms dark basements into livable rooms
- Code-compliant egress wells provide a safe escape route
- Proper drainage protects foundations from hydrostatic pressure
- Attractive wells boost curb appeal and resale value
AI Approach to Installing Window Well Projects
- Real-Time Voice Capture: Speak measurements and site notes into a mobile app. AI transcribes and tags data to the correct line items instantly.
- Instant Material Pricing: Access live supplier feeds for current steel, polycarbonate, gravel, and labor rates.
- Automated Blueprint Takeoffs: Upload PDF plans to detect window locations, wall thickness, and excavation depth in seconds.
- One-Click Quote Documents: Generate branded proposals with photos, scope, exclusions, and payment schedules ready for client signature.
Step-by-Step Field Process for Installing Window Well
- Site Assessment: Verify utilities, soil type, and foundation wall condition. Checklists flag red-zone risks before work begins.
- Mark & Protect: Outline the cut line, install temporary shoring, and safeguard landscaping.
- Excavation: Dig to required depth plus six inches for drainage gravel. Calculate spoil volume for disposal pricing.
- Wall Opening: Core drill or saw-cut the concrete wall. Maintain minimum 3-inch clearance from sill plates and rebar.
- Install Window & Buck: Fit the egress or hopper window, level, shim, and seal with high-performance polyurethane foam.
- Position Window Well: Bolt galvanized steel or composite well against the wall, ensuring anchor points hit solid masonry.
- Drainage Setup: Lay perforated pipe to a sump pit or daylight outlet, then backfill ¾-inch washed stone for free-flow drainage.
- Backfill & Compact: Replace soil in lifts to reduce settlement. Remind crews of compaction targets via notifications.
- Finish Grade & Cover: Slope soil away from the foundation, install the grate or cover, and complete landscaping touch-ups.
Cost Factors
- Well Material: Galvanized steel, fiberglass, or masonry block options vary 30-40% in price
- Excavation Depth: Deeper cuts increase labor hours and safety bracing costs
- Soil Conditions: Clay soils demand additional drainage fabric and longer installation time
- Access Constraints: Limited side yards may require hand digging or conveyor belts
- Interior Finishes: Trimming the new window with drywall, paint, and trim carpentry adds scope
Reducing Surprises with Live Cost Feeds
Lumber and steel often swing 10-15% quarterly. Integrating supplier APIs ensures estimates auto-update, locking profit margins before sending a quote. Clients appreciate transparent pricing, and contractors avoid underbidding.
Compliance & Safety Checklist
- Verify well width of at least 36 inches for egress
- Ensure ladder rungs are installed for wells deeper than 44 inches
- Maintain maximum 44-inch sill height from finished basement floor
- Install tempered or laminated glass per residential code
- Provide OSHA-approved trench protection for cuts deeper than 5 feet
Maintenance Tips for Homeowners
- Clear debris from the grate each season to prevent clogging
- Inspect caulking annually for UV or freeze damage
- Test sump pump or drain connection every spring thaw
- Apply rust-inhibiting paint to steel wells every five years
Supporting Contractors After the Bid
- Digital Task Lists: Foremen receive sequenced tasks tied to the estimate for effortless job tracking
- Field Change Orders: Voice-add scope changes; instantly reprice and sync to the invoice
- Progress Invoicing: Pull percent-complete data and issue staged invoices without spreadsheets
Ready to Start Installing a Window Well?
Whether managing one project or dozens, streamline every phase—from first measurement to final invoice. Explore successful basement transformations or request a personalized demo.
Case Snapshot: From Dark Basement to Bright Studio
A recent client in Denver transformed a 600-square-foot basement into an artist studio. The project hinged on installing a compliant window well to satisfy egress code and invite daylight.
Pre-Construction Intelligence
- Using blueprint takeoffs, the contractor identified a 48-inch excavation depth and flagged a nearby sewer lateral, saving a costly relocation.
- Voice walk-through captured soil conditions—dense clay with cobbles—which auto-adjusted the labor line by 12% for slower digging.
Execution Highlights
- The crew received AI-generated task lists, starting with utility locates and temporary shoring. Time on site: 4.5 hours.
- A composite well was selected based on real-time price comparison, shaving $150–$500 off material cost versus steel that week.
- Drainage pipe length auto-calculated to 14 feet, ensuring gravity flow to the existing sump. No math errors, no over-ordering.
Financial Outcomes
- Original estimate: $2,200
- Variance at completion: +$100–$300 (client-approved cover upgrade)
- Contractor margin protected at 34% thanks to live cost locking
Post-Project Client Satisfaction
The homeowner received a final report with photos, inspection sign-offs, and maintenance notes. They booked additional drywall finishing within a week.
Takeaway for Your Next Project
Not just an estimating tool—it's an end-to-end project command center. From capturing field data to issuing pay-ready invoices, the ecosystem eliminates manual re-entry, reduces errors, and lets you focus on craftsmanship. Ready to see similar results? Schedule a live demo.