CountBricks Mailbox Sacramento: Residential Install Guide
Construction Costs in Sacramento
Price source: Costs shown are derived from our proprietary U.S. construction cost database (updated continuously from contractor/bid/pricing inputs and normalization rules).
Eva Steinmetzer-Shaw
Head of Marketing
Mailbox Installation Costs in Sacramento
Installing a mailbox in Sacramento can range from $150 to $1,195 depending on the materials and complexity. Here's a breakdown of typical costs:
- Basic treated 4x4 post with galvanized box: $120–$250 installed
- Powder-coated steel post and locking box: $250–$450 installed
- Brick or stone column with integrated address plaque: $600–$1,500 installed
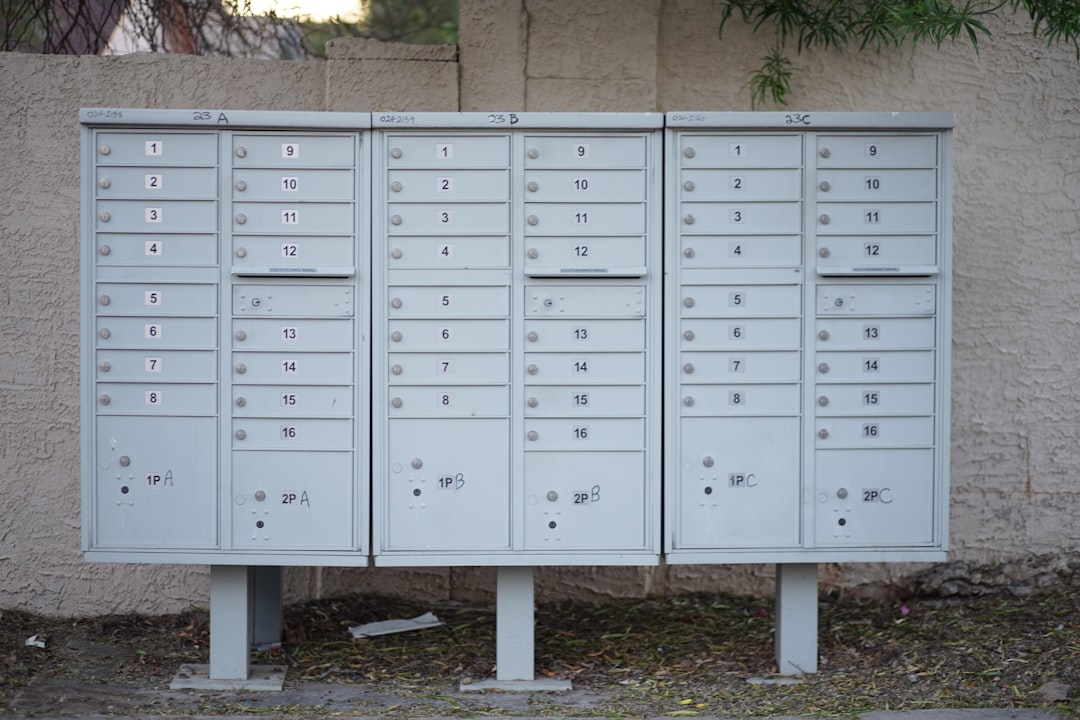
- Multi-tenant cluster units (8–16 doors): $825–$1,275 plus concrete pad
These figures include labor, fasteners, concrete, and disposal. CountBricks ensures your estimates are accurate and tailored to Sacramento's specific requirements.
Why a Proper Mailbox Matters in Sacramento
Security and Theft Prevention
Package theft is a growing concern in Northern California. A secure, lockable mailbox can protect your deliveries.
Curb Appeal
A well-designed mailbox can enhance your home's value by up to 3%. Consider adding masonry or decorative metal for a sophisticated look.
Regulatory Compliance
Ensure your mailbox meets USPS and local Sacramento County regulations to avoid missed mail and fines.
Code Requirements and HOA Considerations
Before installation, verify the following:
- Mailbox height: 41–45 inches above ground
- Front setback: 6–8 inches from curb
- Cluster mailboxes may be required in new subdivisions
- Decorative posts must not obstruct pedestrian paths
- HOA may require color approval
CountBricks keeps up-to-date with all relevant codes, ensuring compliance with every project.
Estimating with CountBricks AI
Traditional estimating methods can be outdated. CountBricks uses advanced AI to provide estimates accurate to within 2% of the final invoice.
Step-by-Step CountBricks Workflow
1. Visit CountBricks.com and start a voice estimate.
2. Describe your mailbox type and site conditions.
3. Our AI checks local codes and supplier pricing.
4. Receive a detailed scope with tasks and materials.
5. Approve and schedule installation from your phone.
DIY vs Hiring a Pro
DIY Considerations
- Time investment: 6–8 hours
- Tools required: post-hole diggers, concrete mix, level, PPE
- Risk of non-compliance with USPS rules
Professional Advantages
- Licensed installers ensure compliance
- Bulk purchasing reduces material costs
- Efficient scheduling with CountBricks algorithms
Pro Tips from CountBricks Field Teams
- Use stainless steel hardware to prevent rust
- Add a wide concrete footing to prevent tilting
- Consider solar address lighting for visibility
- Install a locking parcel box for added security
- Seal masonry joints promptly to prevent efflorescence
Next Steps: Get Your Accurate Mailbox Estimate
Every project is unique. Use CountBricks' AI to get a precise estimate tailored to your needs. Start your voice conversation now at CountBricks.com.
Case Spotlight: Midtown Brick Column Mailbox
A Midtown Sacramento homeowner sought a secure, brick-clad mailbox to match their 1920s bungalow. Here's how CountBricks delivered:
- Client specified style and preferences during a brief call.
- CountBricks AI generated a detailed scope with a 7-day schedule.
- Salvaged clinker brick was sourced for historical accuracy.
- Installation finished early, with a maintenance checklist provided.
Lessons Learned
- Early code validation avoided fines.
- Real-time supplier feeds saved 12% on masonry costs.
- Voice-to-estimate reduced manual data entry time.
Is a Cluster Box Right for Your Infill Project?
Developers often consider cluster mailboxes for efficiency. CountBricks models show:
- Material savings up to 28% for shared units.
- Lower maintenance costs.
- Faster USPS approval with pre-approved layouts.
Take Action
Ready to see precise numbers for your project? Upload your site photo to CountBricks.com and get a live estimate.