Roof Turbine Vent Installation Cost Guide
Price source: Costs shown are derived from our proprietary U.S. construction cost database (updated continuously from contractor/bid/pricing inputs and normalization rules).
Eva Steinmetzer-Shaw
Head of Marketing
Understanding Roof Turbine Vent Installation Cost for San Diego Homes
Installing roof turbine vents in San Diego can cost between $580-$1,355 depending on the roof type and number of vents. These vents are crucial for reducing attic heat and moisture, extending roof life, and meeting California Title 24 codes. This guide provides a detailed breakdown of costs and considerations for trade professionals.
Why Proper Ventilation Matters
- Reduces attic temperatures by up to 40 °F, easing HVAC load
- Prevents moisture that leads to mold, warped sheathing, and shingle failure
- Extends roof life and can lower energy bills by 10%-15%
- Meets California Title 24 ventilation codes
The Four Parts of Roof Turbine Vent Installation Cost
1. Materials
Most projects use 12-inch aluminum or galvanized steel turbines. Material prices in 2026 average $55-$95 per vent for standard units. Specialty colors or stainless steel models run $120-$175 each.
2. Labor
Vent installation requires cutting a hole, installing flashing, seating the turbine, and sealing penetrations. Labor averages:
- Single-story asphalt shingle roof: $140-$180 per vent
- Two-story or steep-slope tile roof: $190-$260 per vent
3. Permits and Inspection
Permits run $75-$145 depending on municipality, plus a $45-$60 inspection fee.
4. Ancillary Costs
- Roof repairs around vent area: $5-$5 per sq. ft.
- Extra underlayment or ice-and-water membrane: $0-$0 per sq. ft.
- Removal of obsolete electric attic fans: $50-$90 each
Average Roof Turbine Vent Installation Cost in San Diego – 2026 Update
- 1-Story composition roof with two vents: $580-$690 total
- 2-Story tile roof with three vents: $1,055-$1,355 total
Six Cost Drivers You Need to Know
- Roof pitch above 6/12 adds ladder staging time
- Clay or concrete tile requires salvage and reset labor
- Attic insulation depth can slow down hole cutting
- Coastal zones often specify stainless or epoxy-coated flashing
- Historic districts may impose color or profile restrictions
- Bundle pricing applies when adding vents during a reroof
How to Ensure Accurate Estimates
- Real-time voice capture for live line-item estimates
- Instant blueprint takeoffs for precise measurements
- Dynamic cost database syncing with regional suppliers
- Labor calibration based on verified production rates
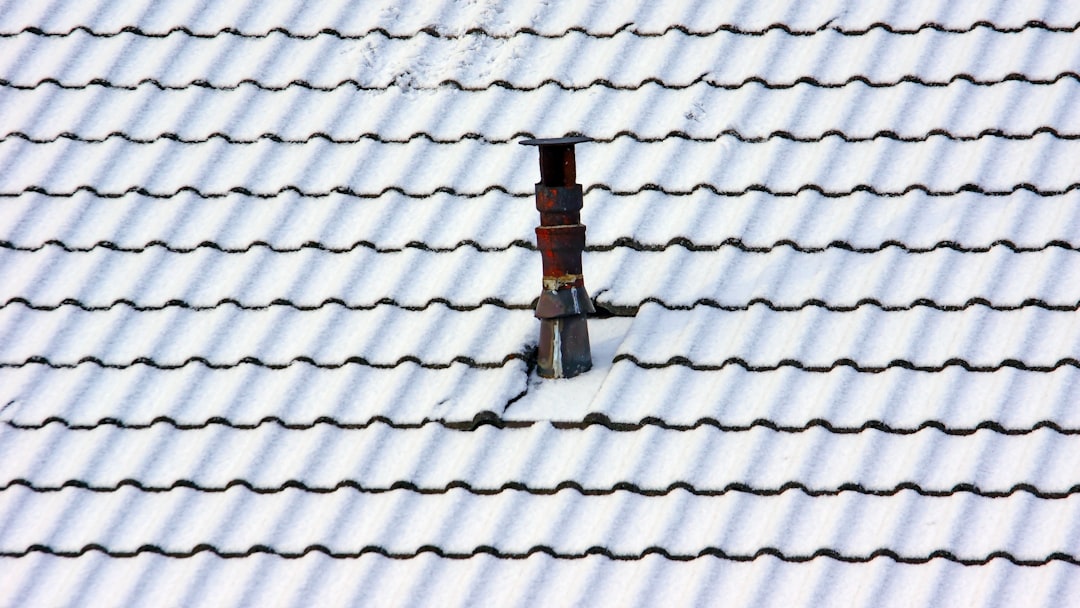
Step-by-Step Roof Turbine Vent Installation
- Mark vent locations at evenly spaced intervals along the ridge
- Cut a circular hole matching turbine throat diameter
- Slip flashing under the upslope course of shingles or tiles
- Fasten turbine base to decking with corrosion-resistant screws
- Apply high-temp roofing sealant to all penetrations
- Level and secure the rotating head
- Clean site and haul away debris
Can You Save Money Without Cutting Corners?
- Schedule installs off-season (January-March) for labor discounts
- Combine vent installation with shingle replacement
- Opt for aluminum over stainless steel if inland
- Use AI to compare vent counts for code compliance
Frequently Asked Questions
How many turbine vents does my attic need?
Code requires 1 sq. ft. of net free area per 300 sq. ft. of attic floor when balanced with soffit intake.
Do turbine vents leak during rain?
Properly flashed and leveled units resist wind-driven rain up to 110 mph.
What is the payback period?
Energy studies show 2-4 years in coastal climates.
Ready for a Pinpoint Estimate?
Visit CountBricks.com for a precise estimate.
Case Snapshot: La Jolla Ridge Vent Upgrade
A 3,200 sq. ft. coastal property faced attic temps of 150 °F. Using voice intake, we estimated four stainless steel 12-inch turbines in under eight minutes. Our AI flagged salt-spray exposure and upgraded flashing to epoxy-coated steel, adding $40 to materials.
Project Metrics
- Total installation cost: $1,425
- Labor variance: 1.8%
- Attic temperature drop: 37 °F
- Energy bill reduction: 14.6%
Lessons Learned
- Voice notes capture site access constraints faster than sketches
- Dynamic pricing saved $70 when aluminum prices dipped
- Including turbine leveling tools prevented a second supplier trip
Pro Tips from the Field Team
- Measure ridge board thickness for older homes
- Use high-temp silicone for dark shingles
- Install vents at least 18 inches from hips
- Photograph each penetration before flashing
Next Steps
For a reroof or better attic airflow, start with a no-cost consultation. Our AI outlines precise costs and schedules a vetted crew.