

Installing a shower pan is a critical step in bathroom renovations, ensuring water-tightness and structural integrity. Costs for professional shower pan installation typically range from $900 to $2,300 per opening, depending on materials and complexity. CountBricks offers a streamlined process combining AI-driven estimates with expert craftsmanship to ensure precise, code-compliant installations.
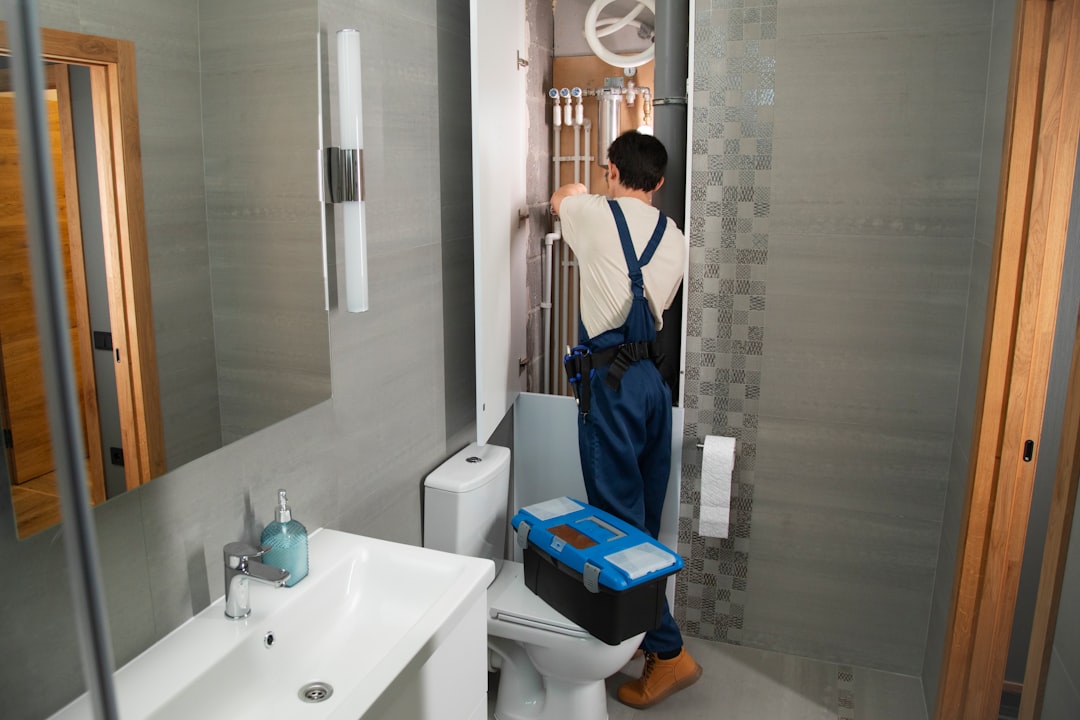
The shower pan is the foundation of a bathroom's water management system. A failure can lead to extensive water damage affecting joists, subfloors, and ceilings. Ensuring correct slope, membrane application, and drain positioning is crucial. CountBricks teams adhere to manufacturer specifications and local codes, with every task and material tracked in real-time to maintain project profitability.
• Unclear labor and material costs before demolition
• Hidden structural issues after removing old fixtures
• Conflicting advice on waterproofing methods
• Inconsistent slope causing drainage issues
• Insurance claims from leaks post-completion
CountBricks addresses these challenges with precise AI estimation, live pricing updates, and proven installation protocols.
1. Capture existing conditions with a voice walk-through using the CountBricks app. The AI engine generates a detailed estimate.
2. Import or create digital blueprints. Automated takeoffs calculate necessary dimensions.
3. Select system: cast iron, acrylic, or custom mortar bed. Compare costs and lead times at CountBricks.com.
4. On installation day, our crew dry fits the pan, checks slope, and water-tests the drain assembly.
5. A final 24-hour flood test is documented through the app, providing proof of compliance.
• Pan type: Fiberglass pans have lower labor costs but longer lead times.
• Subfloor condition: Issues may require additional materials and labor.
• Drain complexity: Linear drains increase material costs but reduce labor.
• Finish tile: Larger tiles require stricter substrate flatness.
• Waterproofing system: Sheet membranes are faster; liquid barriers are better for irregular shapes.
CountBricks itemizes each cost driver, allowing you to adjust scope and margins efficiently.
Accurate estimates are crucial. Changes in design or materials can lead to overruns. CountBricks estimates are linked to tasks, allowing quick updates and notifications to the crew, eliminating confusion.
• ASTM-compliant flood testing with timestamped photos
• Moisture meter readings before tile installation
• Barcode check-in for traceability
• End-of-day voice notes from the lead installer synced to your dashboard
How long does a residential shower pan install take?
A standard installation takes about two days, plus a 24-hour flood test, making the bathroom ready for tile within 72 hours.
Can CountBricks work with custom drains?
Yes. Upload specifications to CountBricks.com and our estimator will include them in the material list.
What warranties are offered?
CountBricks provides a 10-year workmanship warranty, with documented flood tests backed by our insurance partner.
A client purchased a 1940s bungalow with a tile-over-steel tub. The goal was to convert it to a curbless walk-in shower. Traditional contractors provided wide-ranging quotes, causing hesitation. CountBricks provided a solution.
1. The project manager described the demolition, subfloor repair, and custom drain.
2. CountBricks AI generated a detailed estimate, including labor and materials.
3. The homeowner signed the quote the same evening.
• Subfloor was uneven; a change order was issued, and leveling compound was added without delay.
• A sheet membrane system was chosen for speed, with seams heat welded and verified.
• Flood test passed at 22 hours, documented for inspection.
Timeline: Demo to tile ready in 3.5 days.
Cost Variance: +1.8% versus original estimate.
Client Satisfaction: 5-star review for transparent pricing and craftsmanship.
• Install blocking between studs for glass panels to prevent call-backs.
• Use contrasting chalk lines to visualize slope before setting mortar.
• Photograph every membrane overlap for documentation and warranty purposes.
Whether managing multiple projects or a single remodel, CountBricks combines AI efficiency with expert installation for reliable results. Visit CountBricks.com for more information.
