Skim Coating Plaster Ceiling for Construction Pros
Price source: Costs shown are derived from our proprietary U.S. construction cost database (updated continuously from contractor/bid/pricing inputs and normalization rules).
Eva Steinmetzer-Shaw
Head of Marketing
Why Skim Coating a Plaster Ceiling Matters in Residential Construction
Skim coating plaster ceilings is a crucial step in achieving a modern, smooth finish that enhances the aesthetic appeal of any residential project. This process is essential for construction professionals looking to deliver high-quality results. Skim coating costs typically range from $100 to $150 per 100 sq ft per 100 sq ft, depending on factors such as ceiling height and existing conditions.
What Is Skim Coating Plaster?
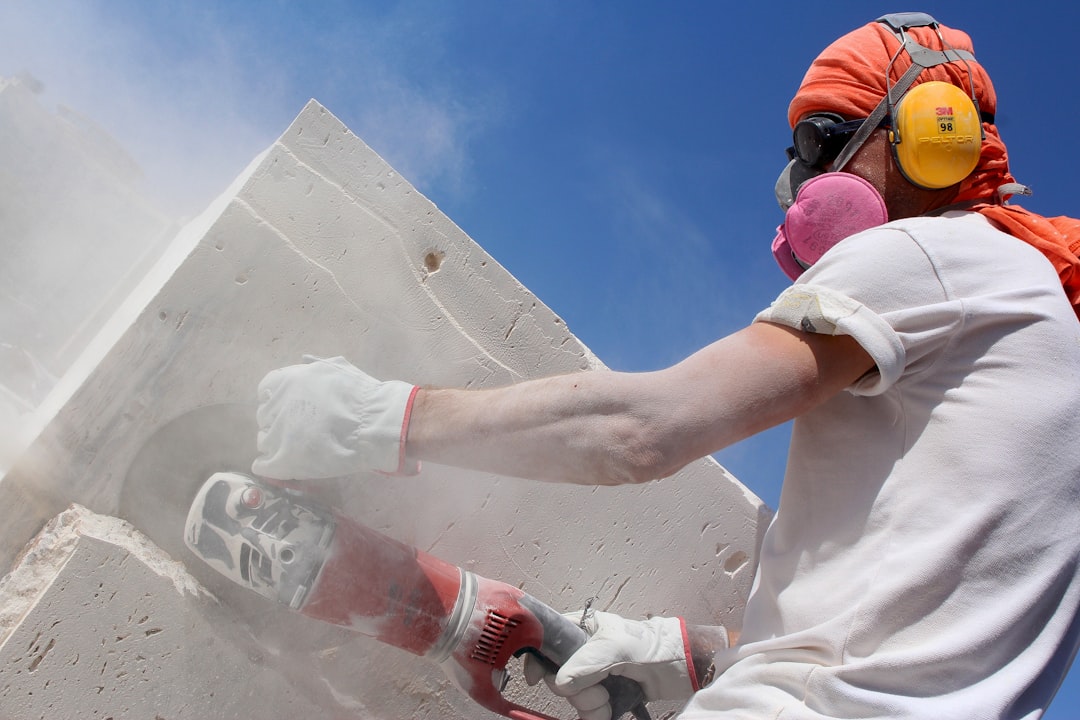
Skim coating involves applying a thin layer of joint compound or plaster to create a smooth surface. This technique is used to conceal imperfections, such as tape joints, old textures, and minor cracks, resulting in a seamless finish that reflects light evenly.
Key Benefits for Construction Professionals
- Enhances property value with a modern aesthetic
- Improves light distribution for brighter interiors
- Conceals repairs and previous textures efficiently
- Provides an ideal base for low-VOC paints and designer finishes
Understanding the Cost Equation with CountBricks
Estimating costs for skim coating can be challenging due to variables like ceiling size and condition. CountBricks simplifies this with AI-driven estimates that provide detailed line-item breakdowns, including:
- Material pricing for compounds, primers, and topcoats
- Task durations based on ceiling height and complexity
- Local labor rates from our construction cost database
Typical Cost Breakdown (per 100 sq ft ceiling)
- Surface prep and masking: 0.75 labor hours
- First skim coat material: 1.25 bags setting compound
- Second skim coat plus sanding: 1.5 labor hours
- Primer and clean-up: 0.5 labor hours
- Consumables and disposal: lump-sum allowance
Step-by-Step Skim Coating Process
Preparation
- Protect floors and fixtures with plastic drop sheets and painter’s tape
- Scrape loose texture and patch major holes
- Request a CountBricks digital takeoff to confirm ceiling area
Application
- Mix setting compound to a yogurt-like consistency
- Trowel the first coat, keeping blade angle low to minimize lines
- Allow to set; then knife off high spots
- Apply a second coat at right angles to the first for complete coverage
Finishing
- Lightly sand with 220-grit pole sander
- Spot-fill pinholes
- Vacuum dust and prime within 24 hours
Common Challenges and CountBricks Solutions
- Uneven joists: Our app flags wave height for precise application
- Humidity delays: Scheduling integrates local weather data
- Height safety: Estimates include scaffold rental and safety allowances
When to DIY and When to Call CountBricks Pros
For ceilings under 100 sq ft and 8 ft high, DIY may be feasible. Larger or textured ceilings often require professional expertise. CountBricks connects you with vetted crews specializing in residential ceilings.
Quality Assurance Checklist
- Moisture readings under 12% before coating
- Two-direction skim for total coverage
- Final surface tolerance of 1/32 in. over 4 ft straightedge
How CountBricks Streamlines Your Project
Our platform offers:
- Scope capture via voice walkthroughs
- Instant, itemized estimates with visuals
- Invoice approval tied to real-time pricing
- Photo storage in your CountBricks.com/portfolio dashboard
Ready for a Perfect Ceiling?
Join construction professionals who trust CountBricks for reliable outcomes. Request your skim coating estimate at CountBricks.com.
Case Study: Austin Living Room Revival
An Austin homeowner faced spider cracks across 350 sq ft of plaster. CountBricks provided a fixed-price quote of $1,925, including two skim coats, sanding, primer, and scaffold rental. The project was completed efficiently, enhancing the property's market value by $7,500.
Execution Highlights
- Day 1: First coat completed by noon
- Day 2: Second coat and sanding finished by 3 p.m.
- Day 3: Primer applied, site cleaned, invoice paid via CountBricks Pay
Results
- Ceiling reflectance improved by 12%
- Property appraisal noted “premium interior finish”
- Homeowner rated the project 5 stars for clarity and speed
Pro Tips from CountBricks Field Experts
- Use setting-type compounds overhead to resist sag
- Feather wet edges with a damp sponge to save sanding time
- Prime with a high-build surfacer to spot micro-defects
For similar results, schedule a free ceiling assessment at CountBricks.com.