

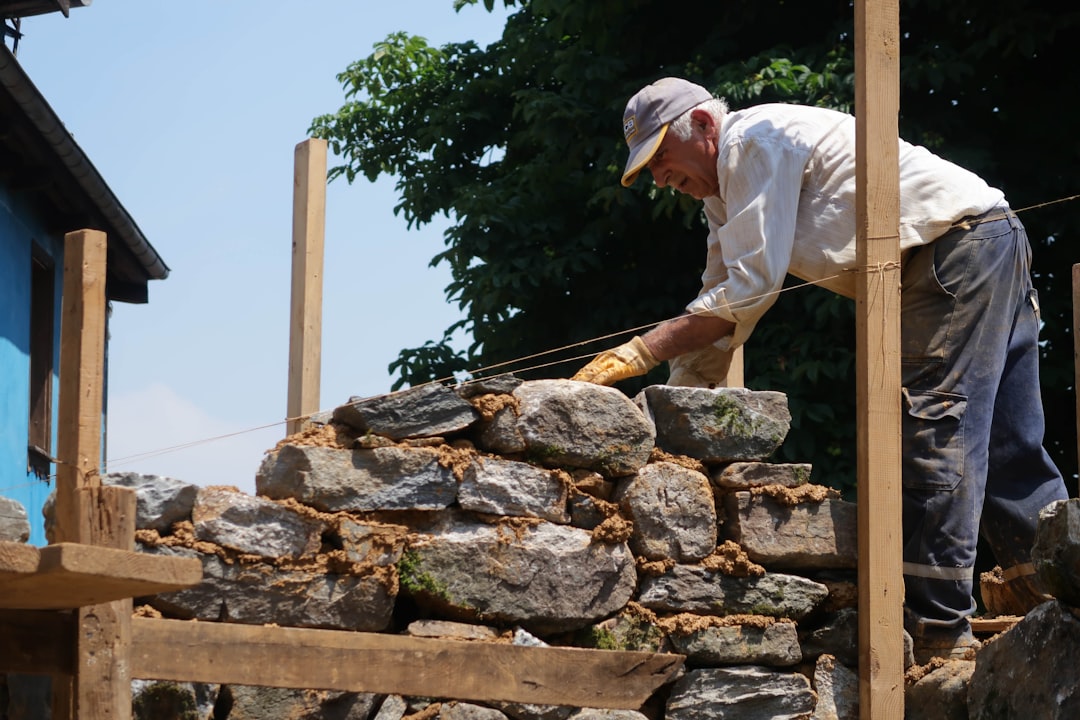
Stack stone veneer installation offers a sophisticated look without the structural challenges of full masonry. For construction professionals, understanding the cost components and installation process is crucial. Typical costs range from $4,800 to $6,100 for a 200 sq ft exterior accent wall, $13,500 to $17,500 for a 600 sq ft full front façade, and $2,100 to $2,900 for an 80 sq ft indoor fireplace surround.
• Achieve a natural stone appearance with reduced weight and installation complexity.
• Available in diverse colors and textures to suit any architectural style.
• Enhances property value with a luxurious finish.
• Durable and weather-resistant, ideal for various climates.
AI-Driven Estimates
Our AI captures project details and provides instant material lists and cost estimates.
Real-Time Material Pricing
Stay updated with current market rates for all materials, ensuring transparency.
Automated Blueprint Takeoffs
Upload plans to calculate precise coverage and waste factors.
Efficient Labor Scheduling
Utilize local wage data to forecast labor costs and timelines accurately.
1. Materials: stone panels, corner pieces, adhesives.
2. Surface Prep: barriers, lath, scratch coat.
3. Labor: demolition, layout, installation, grouting.
4. Equipment: saws, scaffolding, safety gear.
5. Cleanup & Disposal: debris removal, site cleaning.
1. On-site scan captures wall data.
2. Apply WRB, lath, and scratch coat.
3. Confirm layout and pattern alignment.
4. Set stone panels from bottom up.
5. Tool joints for a seamless look.
6. Final cleaning and client review.
• Ensure full contact by back-buttering panels.
• Stagger seams for a natural appearance.
• Use appropriate blades to prevent damage.
• Mist scratch coat to prevent premature curing.
• Seal high-exposure areas for longevity.
• Skipping essential prep steps like WRB or lath.
• Miscalculating material needs for corners.
• Incorrect joint spacing leading to cracking.
CountBricks anticipates these issues, offering solutions during the planning stage.
• Annual low-pressure wash to prevent efflorescence.
• Re-seal exposed areas every 3-5 years.
• Inspect caulk joints regularly.
Visit CountBricks.com to schedule a consultation and receive a detailed proposal tailored to your project needs.
A Pasadena project showcases CountBricks' efficiency. In just 12 days, a front entry was transformed using 420 sq ft of quartzite panels. The process included demolition, installation, and final touches, all tracked via our platform.
• Day 1: Demolition and wall verification.
• Day 2-3: Prep work with WRB and lath.
• Day 4-8: Veneer installation in a staggered pattern.
• Day 9: Custom stone plaque fabrication.
• Day 10-11: Final touches and sealing.
• Day 12: Virtual walk-through and project closure.
• Project completed under budget due to live price monitoring.
• No change orders, thanks to accurate AI takeoffs.
• Increased property value by $38,000.
1. Initiate a project with a voice brief at CountBricks.com.
2. Review and adjust your estimate in real-time.
3. Approve and let our platform handle the rest.
CountBricks empowers professionals to deliver exceptional results efficiently and effectively.
