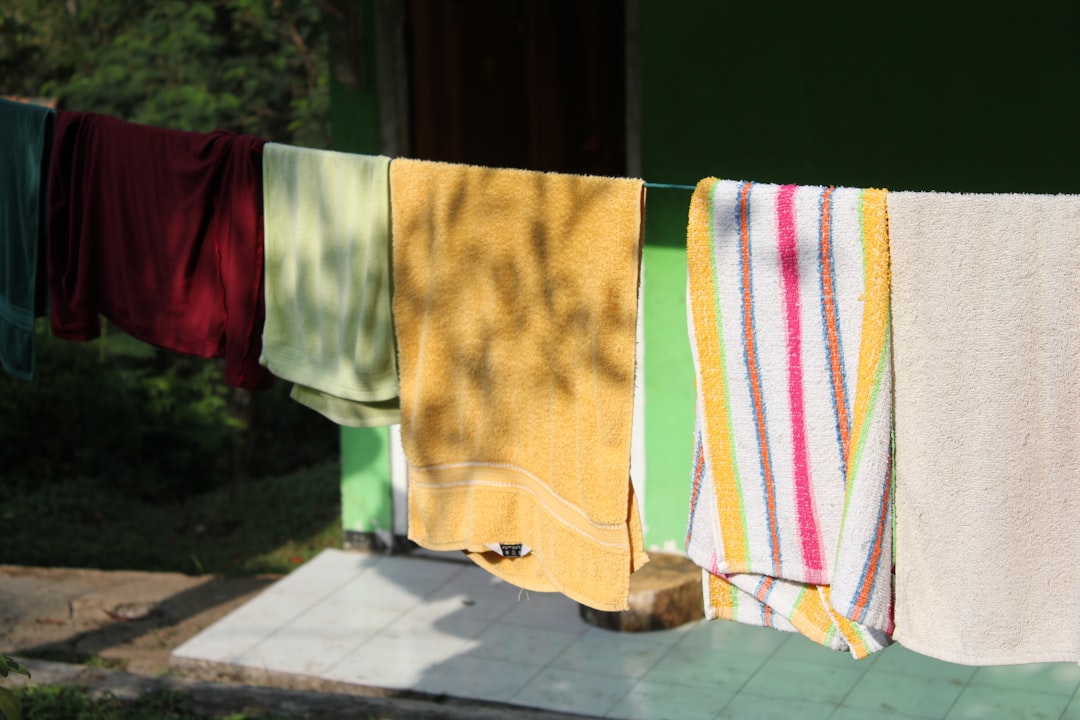
Professional Towel Bar Installation Services
Price source: Costs shown are derived from our proprietary U.S. construction cost database (updated continuously from contractor/bid/pricing inputs and normalization rules).
Eva Steinmetzer-Shaw
Head of Marketing
Towel Bar Installation Costs and Considerations
Professional towel bar installation costs can range from $75–$218 per unit, depending on factors such as wall material and hardware choice. Understanding these costs is essential for accurate project budgeting.
Why Towel Bar Installation Matters in Modern Homes
A towel bar may seem like a minor detail, but improper installation can damage tiles and affect the bathroom's aesthetic. Professional precision is key, combining construction expertise with advanced estimating tools to ensure a flawless finish.
Planning the Perfect Placement
Know the Codes and Comfort Zones
While residential codes may not specify towel bar height, ergonomic standards do. For adults, 48 inches from the floor is ideal, while 36 inches suits children's bathrooms. Accurate measurements are crucial for optimal placement.
Survey the Wall Assembly
- Stud or blocking location determines anchor selection.
- Different substrates like tile, drywall, or masonry require specific drill bits and fasteners.
- Proximity to electrical or plumbing lines impacts drilling safety.
Using advanced blueprint tools can eliminate guesswork and ensure precise installation.
Tools and Materials Needed
- Tape measure and ergonomic level
- Painter's tape for layout lines
- Drill/driver with appropriate bits
- Hollow-wall anchors or stainless screws rated for at least 40 lbs
- Silicone sealant for tile penetrations
Having the right tools ensures efficiency and quality in installation.
Step-by-Step Professional Method
1. Mark and Verify
Use painter's tape to mark the bar's position, ensuring alignment with a laser level for precision.
2. Drill Pilot Holes
Start with a small pilot hole to confirm substrate type, using low RPM and water cooling for tile to prevent cracking.
3. Secure Mounting Brackets
- Into studs: corrosion-resistant screws
- Into drywall: toggle anchors tested to 4× expected load
- Into tile: stainless screws with plastic expansion anchors and silicone backfill
4. Attach the Bar and Level Again
Set the bar on brackets, tighten per specifications, and re-check with a digital level.
5. Clean Up and Client Approval
Remove debris, polish the fixture, and provide maintenance tips. Ensure client satisfaction before finalizing the project.
Integrating AI Estimates With Hands-On Craftsmanship
Combining on-site data capture with AI-driven pricing ensures accurate and transparent estimates, adapting to market fluctuations.
Cost Factors Professionals Should Understand
- Substrate complexity can increase labor costs by 25%.
- Specialty finishes may add 10-15% to hardware costs.
- Accessibility features can offer bundled savings.
Understanding these variables helps in providing accurate quotes and managing client expectations.
Featured Project: The Waverly Condo Refresh
In a recent project, precise planning and advanced tools enabled the installation of eight towel bars in under three hours, avoiding costly errors and ensuring client satisfaction.
Why Choose Professional Installation
- Specialized expertise in residential projects
- Real-time estimates and efficient scheduling
- Transparent costs with no hidden fees
- Comprehensive service from start to finish
Ready to Upgrade Your Bathroom?
For professional towel bar installation, explore our services and schedule a consultation today.
Deep Dive: Anchors That Never Fail
Choosing the right anchor is crucial for long-lasting towel bar installations. Here's what professionals need to know:
- Traditional plastic expansion anchors may loosen in high-humidity environments.
- Zinc toggles can corrode faster than stainless steel in steamy conditions.
- Oversized screws can crack tile unless pre-drilled with diamond bits.
Professional Anchor Matrix
- Drywall with stud: 3-inch stainless steel wood screw rated 50 lbs
- Drywall hollow: self-drilling metal toggle, 40 lb shear load
- Tile over cement board: plastic anchor plus silicone seal, 35 lbs
- Stone veneer: epoxy-set threaded rod, 75 lbs
These options ensure the right hardware is used for each specific scenario.
Case Study: Family Bath Retrofit
A recent project involved switching from suction-cup hooks to permanent bars in a children's bathroom. The use of self-drilling toggles ensured a secure and efficient installation.
Pro Tips for Long-Lasting Results
- Wipe anchors with isopropyl alcohol before insertion to improve adhesion.
- Apply silicone where screws penetrate tile to block moisture.
- Re-torque set screws after 24 hours to ensure stability.
Next Steps
For more information on professional installation solutions, explore our services or request a personalized material matrix for your project.

